-
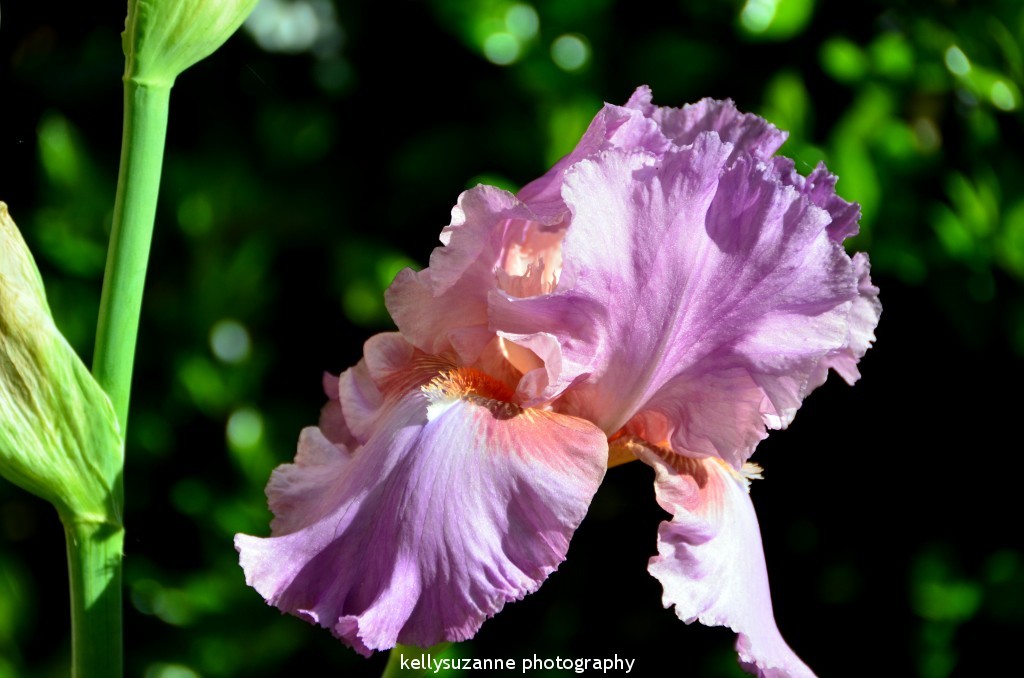
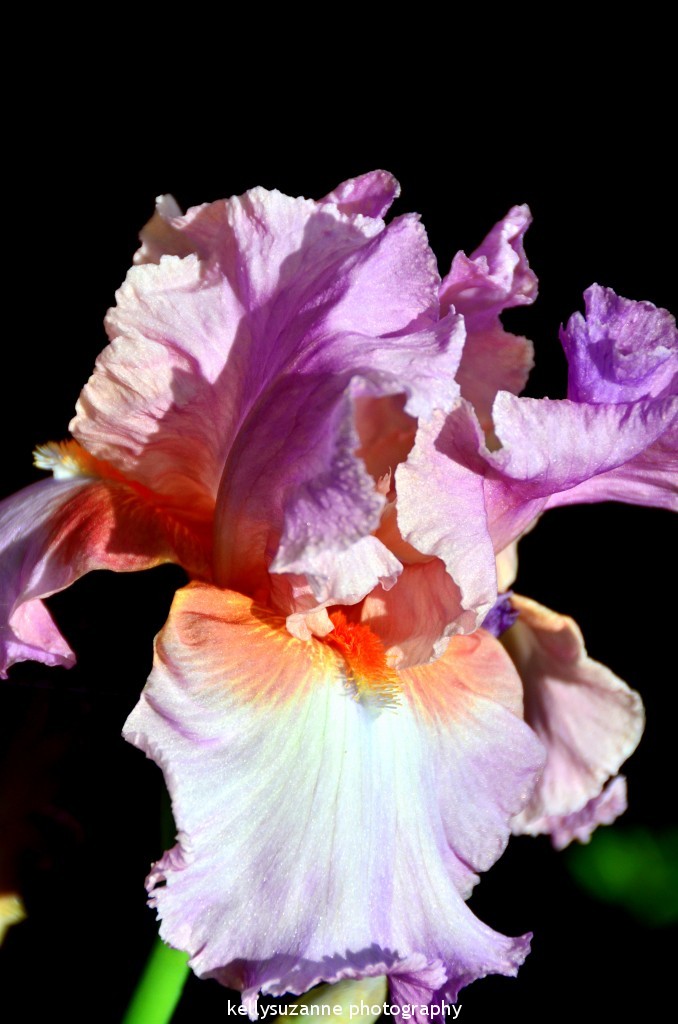
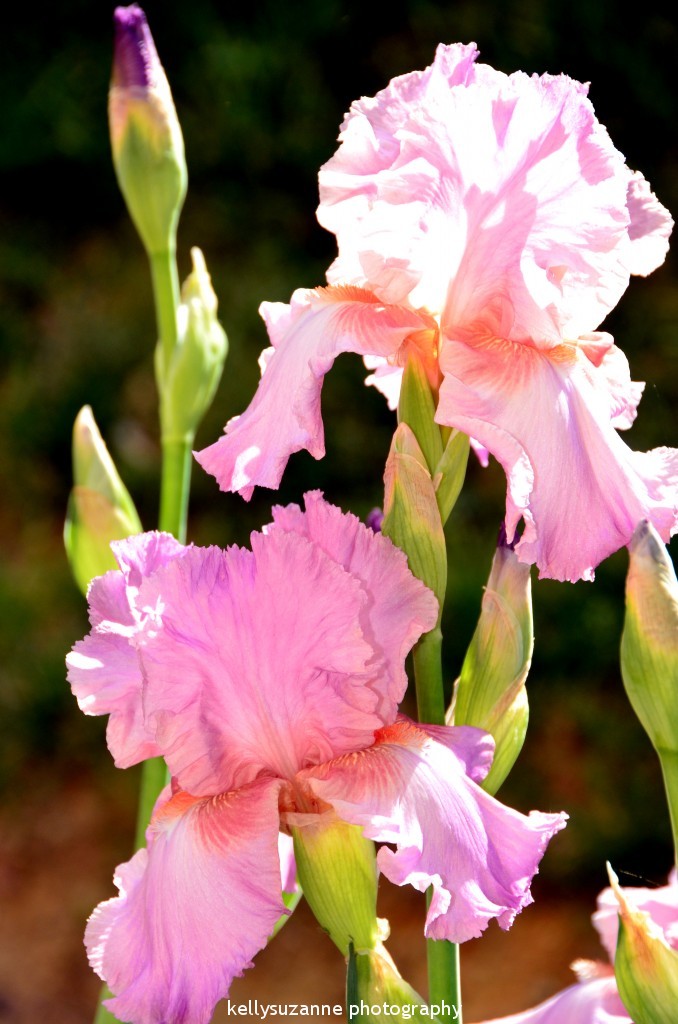
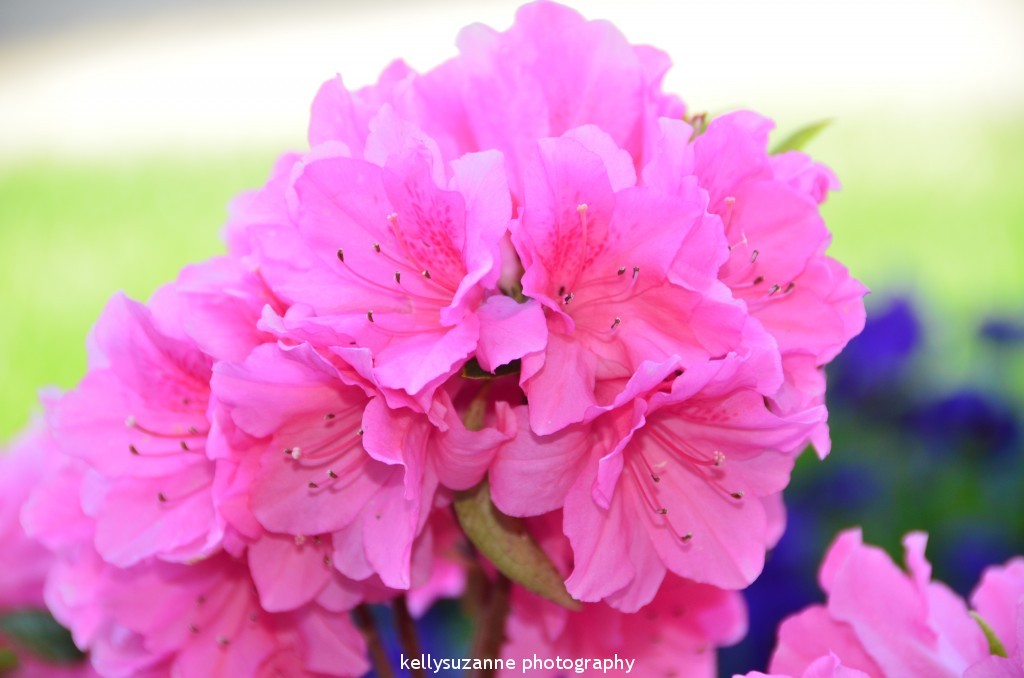
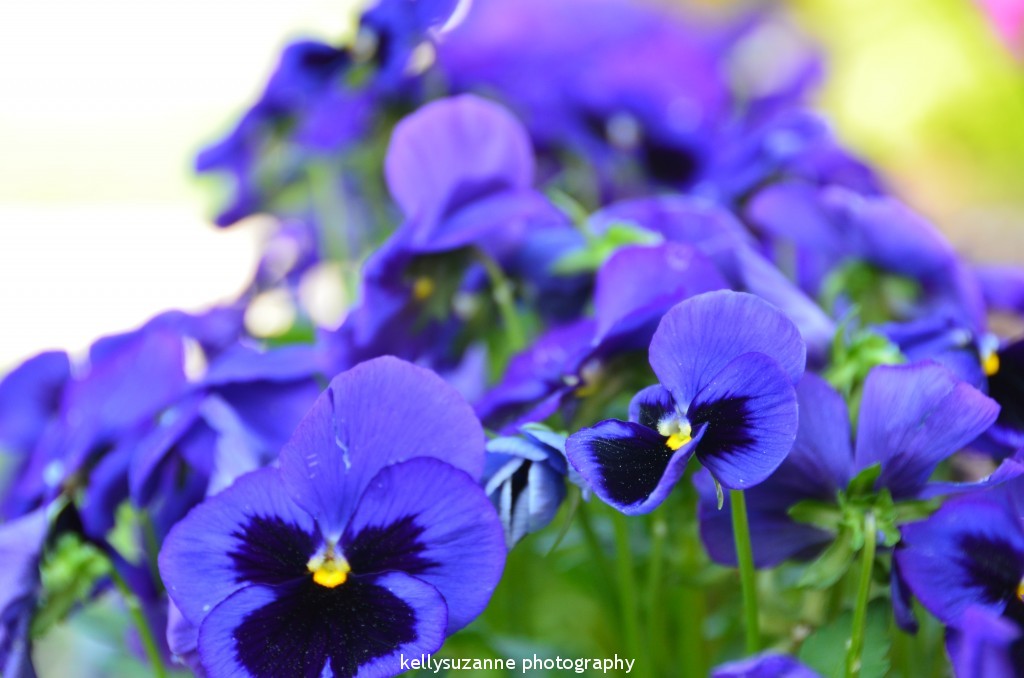
Spring Colors
Okay, so umm, wow! I haven’t blogged in like 2 weeks. Crazy! Life has been pretty slow. Just an “old” married couple being boring lately. 🙂
Anyway, in the past couple of weeks our yard has really blossomed. The irises are blooming, my azaleas finally got with the program, and my pansies perked up. Since everything was in full bloom I finally went out a took a few pics the other day. Enjoy!
-
Spring has sprung!
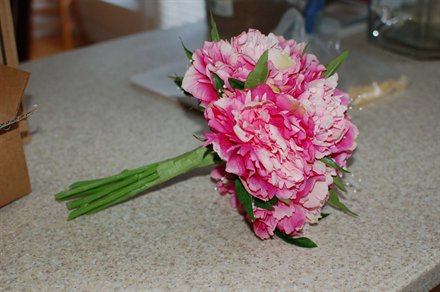
I feel like I only recently discovered the beauty of Peonies! As it happened, I stumbled upon them while looking for flowers for my wedding bouquet. Since the flowers included in our package sucked, and buying real flowers while in St. Lucia wasn’t really an option, I opted for fake flowers. *GASP* I was lucky to find a website that sold very realistic looking fake flowers and I was able to get a family friend to put them together. I think I spent under $75.00 for the whole thing. Not too shabby!
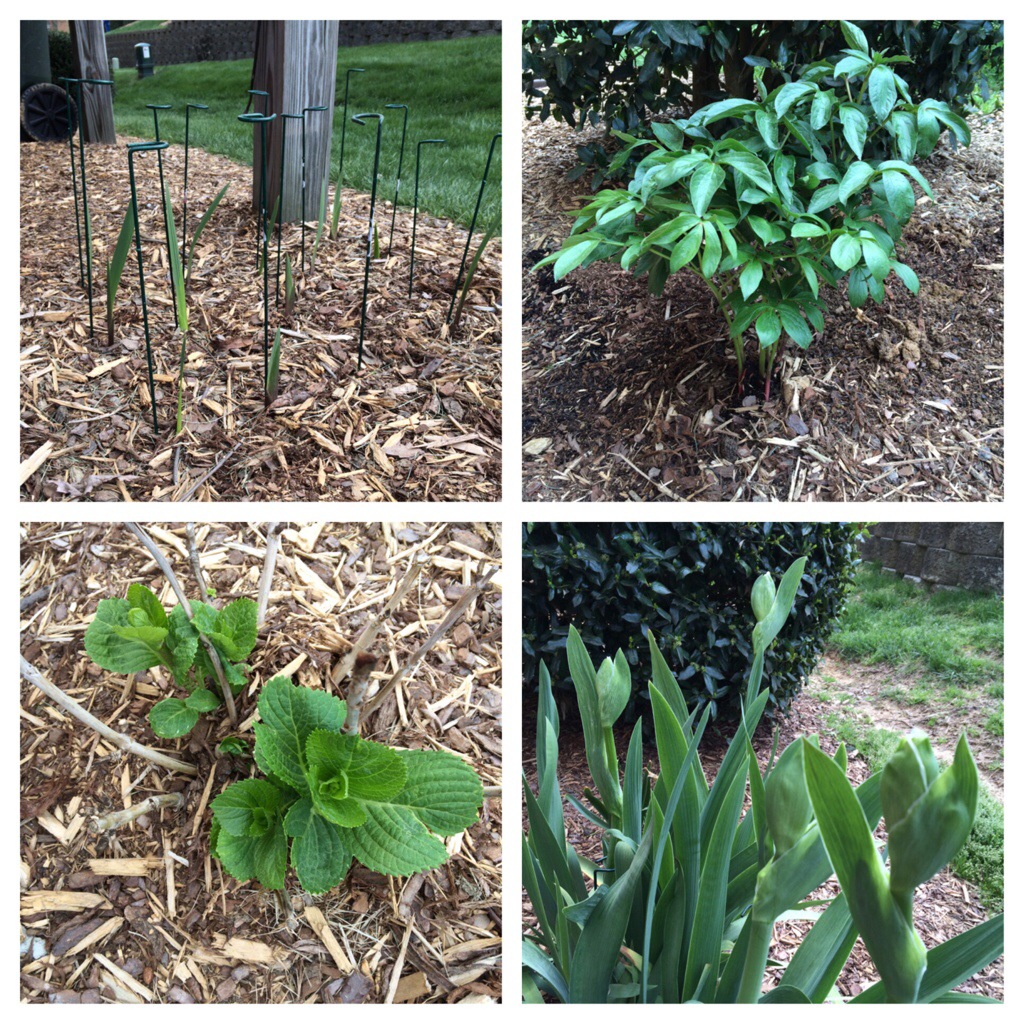
Where I’m actually going with this post is, I finally bought a peony bush this weekend! I’ve wanted one for a while and last year they were a little more than I wanted to spend. Yesterday I found one at Lowes for $24.95. I didn’t really have a place for it, you know since we don’t really have a yard, but I just HAD to have one. I ended up planting it on our side yard next to a holly bush. This probably wasn’t the best place to put it but the tag said it needed partial sun. Originally I thought about planting it under the deck but that gets a lot of the hot midday sun. So for now this is where it will live. There are already some buds so I’m hoping it will bloom pretty soon.
In other yard related news, I have 6 iris about to bloom, my azaleas are also about to bloom, and my gladiolus are coming up nicely. All in all I am very happy with the current state of the yard. I planted the gladiolus about 4 weeks ago I think. I bought a bag of 60 at Costco over the winter for $12.00. I didn’t plant all of them though. I gave a few to mom and I’ll probably give a few more to a co-worker. I mean 60 is kind of a lot. Haha
-
No Primer, No Problem!
As you all know, I’ve recently become OBSESSED with make-up tutorials on Youtube. Well, I have a few of my faves, but I also have a few others that I will occasionally check out. GossMakeupArtist is one I occasionally watch. Last week he posted a GREAT tip on how to make your foundation last. Seeing as I’ve been having foundation issues, I wanted to know what his tip was.
Now, before I go into exactly what you do, I just want to say that after I watched the video I was totally skeptical. So much so, that I refused to try this tip during the week. I waited till the weekend so if things totally went South I could just start over. But guys, it worked! Like really worked! So here’s what you need:
- Moisturizer
- Loose powder – translucent or colored (I use my Mineral Veil)
- Powder Brush
- Foundation
Okay, here goes. Apply your moisturizer as usual, then while its still damp, apply a little bit of loose powder on top. I tap out a small amount in the top, swirl my brush, and tap off the excess. The key here is to not use too much. Once you’ve powdered your face, you will apply your foundation. If needed you can add a little more powder over your foundation. (I have combo skin with an oily t-zone so I add a touch more powder to set the look.) Now I know, you aren’t supposed to use liquid over powder. But it works! Essentially you are creating a primer for your foundation.
Here’s what I like most about this tip. You have all the stuff needed already. Plus primers can be expensive. I bought a NYX primer a few weeks ago and feel like I need to use it sparingly even though it was only like $12.00 because I have to use a lot. The other good thing about this tip is, for me anyway, the moisturizer/powder combo also helps to smooth out my pores which helps your foundation sit better.
I’ve done this a few times since I saw it and I have to say, I’m impressed! My foundation seems to stay on a good bit longer than before and I’m not getting as oily in my t-zone. Not to mention it’s free!
Give it a try!
~k
-
A New fave (yup another mascara post)
I can’t believe it’s taken me this long to write a post about mascara!
A while back I wrote about my current favorite mascara, Revlon Lash Potion. This stuff is pretty wonderful but it’s waterproof, like really waterproof. Honestly I don’t really mind if my mascara doesn’t fully wash off at night. I personally think you should wear mascara 24/7 but there comes a time when not washing off starts to make the next day’s mascara all clumpy. I started to have this problem and instead of investing in makeup remover, I decided to buy a cheap non-waterproof mascara to wear under the Lash Potion. Now, here’s the deal, if you wear a non-waterproof mascara under a waterproof mascara, your waterproof mascara will wash over easier. There’s another added bonus to layering your mascara, it will make your lashes fuller. You can really do this with any 2 different mascaras but the easier cleanup was my motivation. I already have long, full eyelashes which also makes me super picky about mascara. If you’ve read my blog for any length of time, you know I LOVE mascara! I think it’s the Bee’s knees! 😉
So here’s what happened. I ran to Target one day and started looking for some super cheap mascara. I finally found the Rimmel Extra Super Lash for about $4.00. Score! This was in my target of how much I wanted to spend on “cheap” mascara. Besides, this wasn’t the star of the show, the Lash Potion was right? Wrong.
I got the Rimmel home and found it had a long skinny, tapered brush. I usually prefer the fuller brushes but who cares right? I applied the mascara and was pretty surprised at how awesome my lashes looked. A little on the skinny side but this made them quite long. I continued on with my plan and applied the Lash Potion over. Overall it was okay, but not really what I was hoping for. As the weeks went on, I found myself using the Rimmel more and more and the Lash Potion less and less. I learned how to control the brush to make my lashes appear thicker and was pleasantly surprised that the non-waterproof formula had good staying power! I could wear it all day with no smudges or smears and this is pretty impressive since I touch my eyes A LOT! Don’t get me wrong, if it gets wet it’s going to run some but I don’t feel it’s as bad as some non-waterproofs (but really I wouldn’t know because I haven’t worn anything other than waterproof, like ever!)
Overall, I am super happy with my discovery! I love happy accidents and in this case a cheap happy accident. If you are like me and you love mascara definitely give the Rimmel a go.
~k
I was going to include a pic but my mobile app is being a pain so, no pic.


