food
-
The 3rd anniversary of the 32nd birthday
Equals 35. Sigh!
Saturday was my birthday and I decided I wanted to go out and have fun. Normally birthdays in our household are celebrated with gifts, cake (sometimes decent looking 😉 ), and a nice dinner out. Matt and I have never done much in the way of parties for birthdays, aside from his 30th birthday. I took him out and his friends got him WASTED! And I got him to dance! 😮 I didn’t want a party for my bday but I thought having a few friends join us for dinner and dancing would be nice. I asked my friend K and her husband M along with one of Matt’s friends and his new girlfriend.
After being unable to get reservations at a new restaurant called Stanbury in downtown, I decided on a new place called Mandolin for dinner. {Funny little side note but the space that Mandolin currently occupies was once a place called EVOO. This was mine and Matt’s first official date spot. It’s since changed hands several times but I’m hoping Mandolin is here to stay for a while.} I was able to get an 8:30 reservation for Saturday night. I knew K&M would be waiting since she said they were going to go to the bar and get drinks first but I was surprised to see J&A sitting at their table when Matt and I walked in around 8:20. About 10 mins later the host came and told us it would be a few more minutes as our table was eating dessert. About 10 minutes after that, we were told they were paying the tab, and a little after 9 we were finally seated. Matt bought me a birthday cake so I brought it with us to the restaurant to share. I didn’t even think about the fact that they would charge a cake cutting fee. Anyway, they politely waived our fee since we’d had to wait. How sweet! *insert slight eye roll here* I must say though, Mandolin was great! The atmosphere was really nice and the food was delicious. Definitely a place Matt and I will go again.
Thankfully once we were seated, our orders were taken, and our food arrived pretty quickly. I must say the food was DELICIOUS! I had the Foie Gras appetizer and then the Chicken and Dumplings for dinner. SO. YUMMY! Everyone really enjoyed their food. After we ate cake, we all headed downtown. The suggested bar was a new spot called Coglins but the line out the door was a huge turn off. I mean, come on, it was my birthday. Who wants to stand in line? Not me! We headed a block over to The Hive. It was busy but not stand in line busy. Drinks were consumed and some dancing was done. In the end J&A and Matt and I stayed till almost 1 before heading home. AHHH! Overall, it was a great night and I had a lot of fun! I’m so glad our friends joined us!
~k
PS. I bought a new outfit for my birthday. I got a shirt, necklace and jacket (not pictured). I’ve had the shoes for a while and they are still fantastic!
-
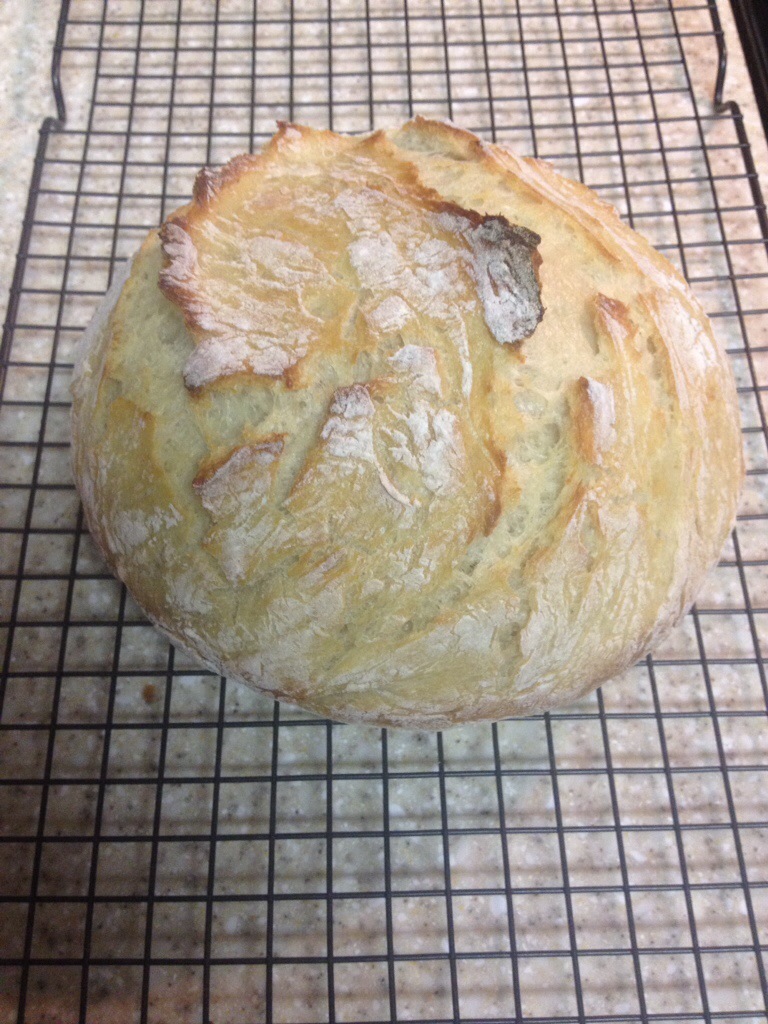
Crusty Bread (aka the easiest bread)
Several months ago, when I was on a big Pinterest kick, I ran across a crusty bread recipe. It seemed easy enough for a non-bread maker. Four ingredients, three of which I had on hand. Matt and I ran to Costco a few days later and I found my missing ingredient, yeast.
With my all the ingredients, I began making my first batch of crusty bread. OMG, this stuff is seriously the EASIEST to make! Not to mention it’s delicious. I’ve made several batches so far and every time it turns out amazing!
Here’s what you’ll need:
1/2 tsp Yeast (I use active dry yeast)
1 3/4 tsp Salt (I like kosher)
3 c. Unbleached All Purpose Flour
1 1/2 c. Warm Water
Cast Iron Pot
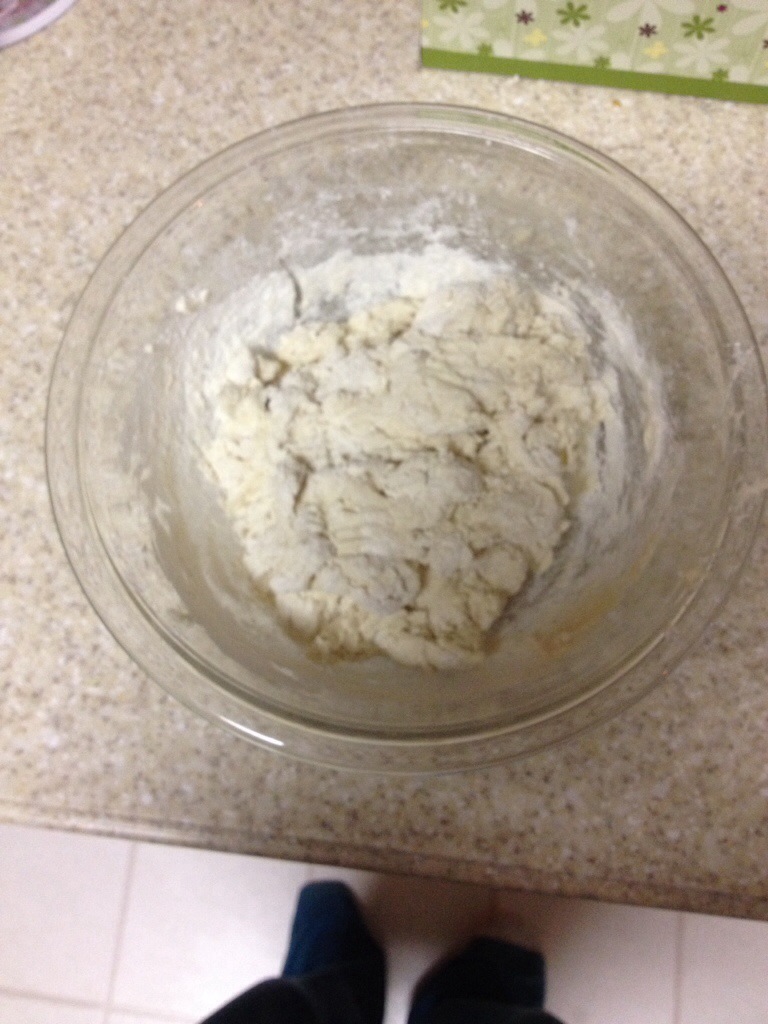
Mix 3 cups unbleached all purpose flour with 1 3/4 tsp salt and 1/2 tsp of yeast in a glass bowl. Whisk together and add 1 1/2 cups of warm water. I like to use a fork for mixing since it will get gooey. Cover the mix and let it sit for 12 hours. Do not refrigerate.
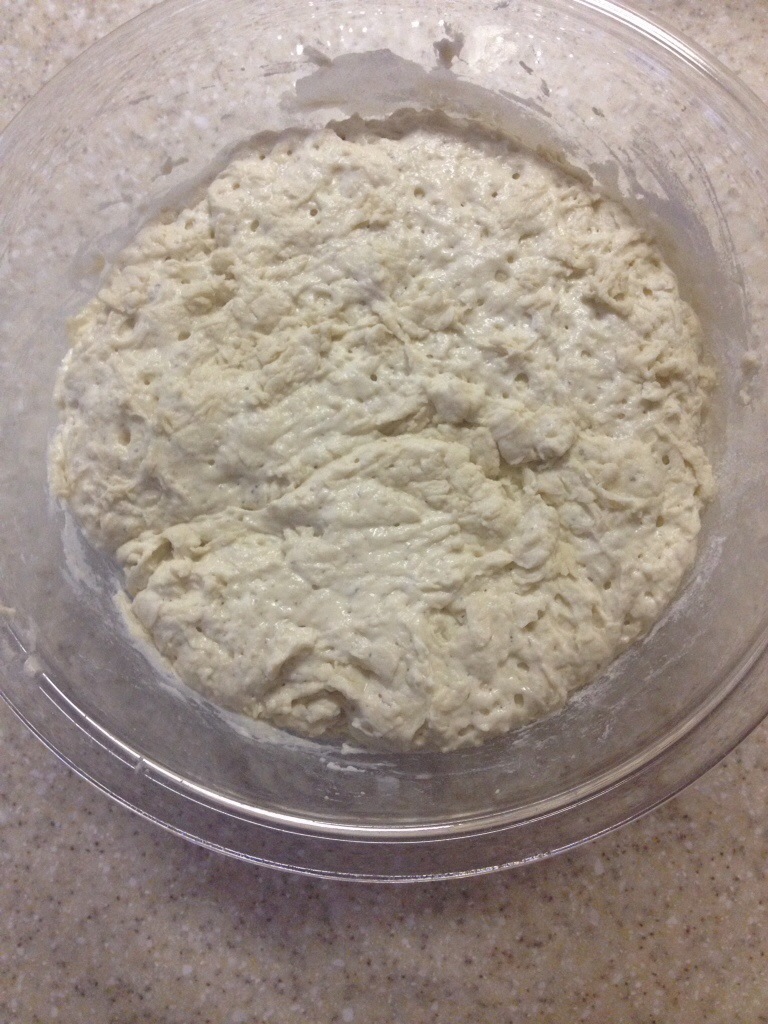
It will get kind of bubbly and rise. Once it’s sat for at least 12 hours (I’ve let mine sit for up to 18 before and it was fine) preheat your oven to 450*. When your oven is preheated put your empty cast iron pot in the oven for 30 mins. I’ve never tried it with anything other than cast iron so you’ve been warned.
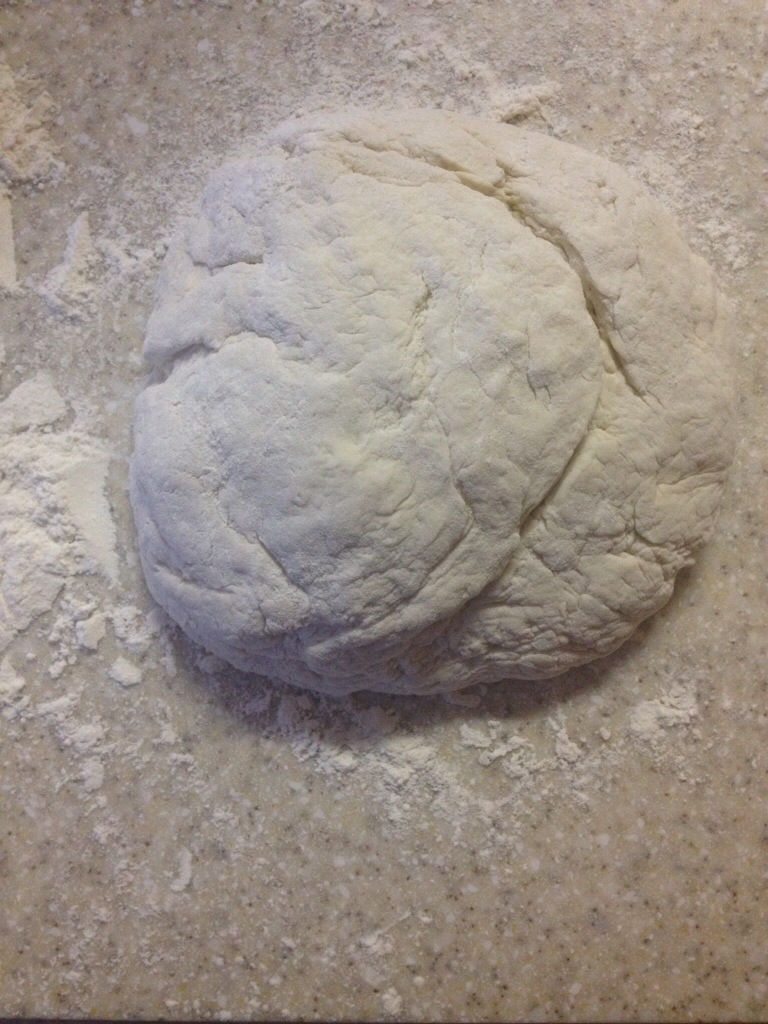
About 5 mins before the timer goes off I will take my dough and flour it. Just throw some flour on the counter and cover the dough. You can be generous with this.
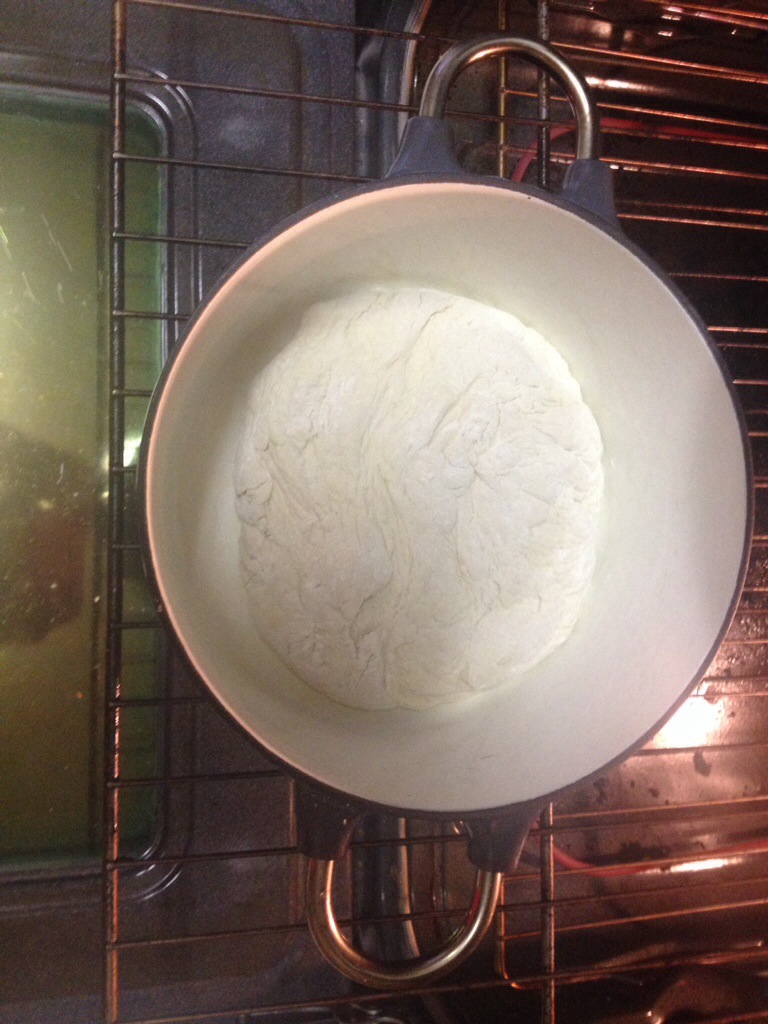
Carefully remove the pot lid and put your dough inside. I just dump it in. No need for oil. I bake mine for 20 mins covered and 10 uncovered. The recipe from my pin says 3o and 20. That was too long for me and my oven. I also like my bread a little more moist and it was little too dry at 30 mins.
Once the bread has browned to your liking remove it from the pot and let it sit on a wire cooling rack. It’s best not to cut while it’s hot. Trust me, it’s a bad idea. You will end up with smushed bread.
***I don’t normally post recipes so I apologize for the roughness of this post.
~k
-
Cookies, Cakes and Pies, oh my!
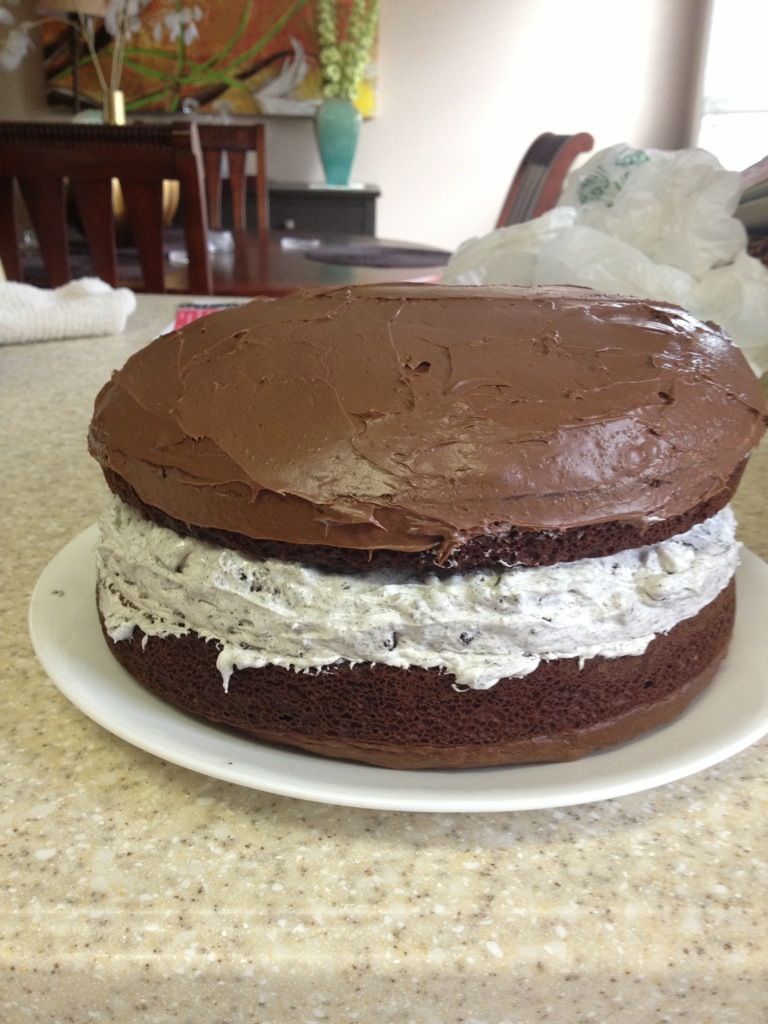
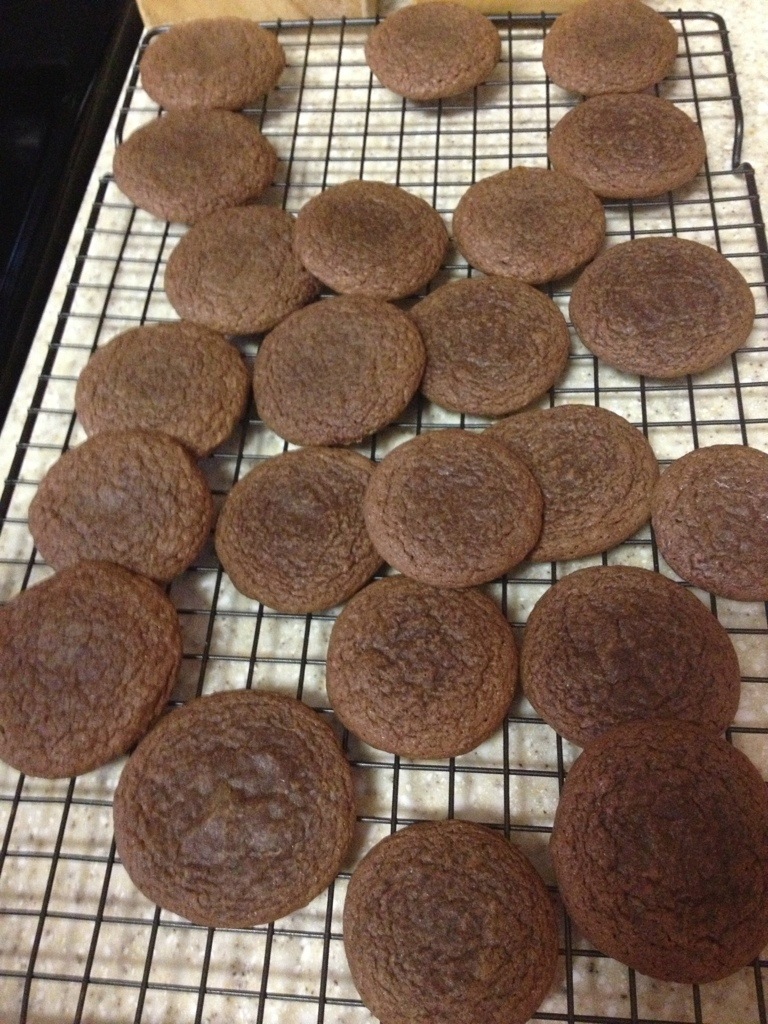
A few weekends ago some friends invited us over for dinner. Since they were providing the main dish I told them I would bring dessert. I scoured Pinterest and came up with 2 options, Oreo cake and Nutella cookies. We bought 2 containers of Nutella at Costco so I decided the cookies were in. And well, you know I also baking cake! I ran to the grocery and picked up what I needed for Oreo cake and when I got home I started baking.
The cake was pretty easy overall. I just used a box cake mix and the filling wasn’t tough to make. I used chocolate frosting instead of making chocolate sauce and it turned out fine. I think next time I make this I would scoop out one of the cake layers and make more of a filled cake. The reason being, the filling was a little runny so my cake didn’t look quite as nice as my inspiration pic. Overall I think it was a good first effort. I took the leftovers to work and everyone loved it so it will be added to the list. 🙂
Matt loves Nutella, as does our friend, so I figured I would throw those together too, just for good measure. They were super simple to make and tasted delicious We were a little surprised that they were more brownie like than cookie like. So they were a denser more heavy cookie.
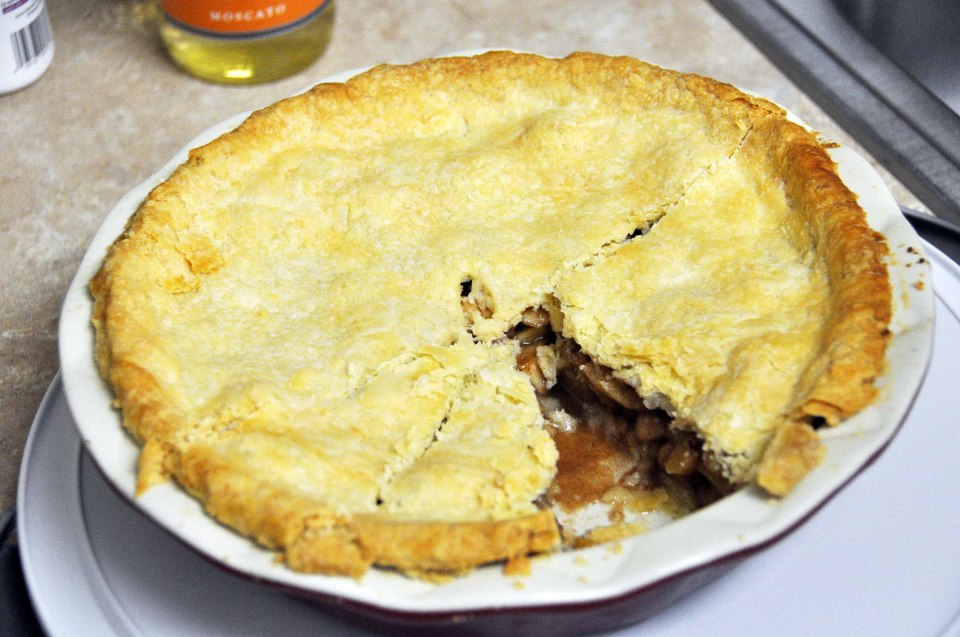
Then my dad asked for an apple pie for his birthday last weekend. He was in luck since mom gave me an apple slicer, corer for Valentine’s day. This made quick work of peeling the apples. 🙂 Anyway, I threw together a homemade apple pie using the same recipe from Thanksgiving. The recipe is pretty simple including the homemade crust. From what I’ve been told it is “the best apple pie I’ve ever had!” Woo hooo! I wouldn’t actually know what my apple pie tasted like since we met mom and dad for dinner on Saturday and handed it to them as we left. I am really glad it turned out well though. I might have to make another one soon. Just because.
~k
-
Bye bye food
Last night I went to the garage to get some supplies for a craft and I realized the outlet the freeze was plugged into wasn’t working. Matt went out back and flipped the switch. When I opened the freezer I noticed it was warm inside. Most of the top food, including all our frozen pizzas were defrosted. Thankfully most of our meat at the bottom was still frozen but the Popsicles at the bottom were melted and had dripped all over the bottom. Ugh. We spent the next 20 mins throwing food out and cleaning up the freezer. Not really how I wanted to spend my evening.
We’ve known this outlet would trip but normally it happens after a heavy rain. We haven’t had any rain so I’m not sure how long it had been off. I’m thinking only a day or so. I guess that’s one way to clean the freezer but man I wouldn’t mind a frozen pizza for dinner tonight.
~k
-
Peanut Butter Pie – Pinterest fail!
Yesterday Matt and I went to a friend’s house to watch the Super Bowl. The hostess was providing chili so I said I would make cornbread. I love cornbread and I like to make it. Last week I while I was “pinning” stuff I came across a recipe for a peanut butter pie. It only required a few ingredients and not much time. Immediately I decided I would also make that for the Super Bowl party.
We ran to the grocery to pick up some food items so I grabbed what I needed for peanut butter pie. When we got home I put the cornbread muffins in the oven and started to work on the pie. Fail #1 came when I decided I would take the graham cracker crust out the pie tin and put it in my ceramic pie dish. The crush started to crumble because the pie dish was a little bigger than the pie crust so I decided to just push the sides down. That would have been good had the filling not been so thick I couldn’t spread it easily. As it was, I just ended up moving the bottom of the crust. After I decided this wouldn’t work I just threw all of it back in the mixer and stirred it together. This seemed to work fine and it also helped to thin out the filling a little more.
Next came the chocolate syrup. This was to be spread over the top of the pie. Well I may have not completely realized that hot fudge topping was different than chocolate syrup. Ooopsy. Anyhoo, the chocolate syrup tasted fine but after a half hour or so in the fridge is started to run. Matt looked at it and asked if I was going to do anything else to the top because it looked like a mess. I looked at it and decided he was right. Thankfully I still had some cool whip left so I covered the top with cool whip and added some peanut butter piping. All in all it looked okay and it tasted fine but it was definitely a fail.
Here is the link to the original recipe but I’m going to post the recipe with my tweaks as well.
Ingredients
For the pie:
1 chocolate graham cracker crust
1 cup peanut butter
1 package (8 ounces) cream cheese, room temperature
1 tub (12 ounces) Cool Whip, divided
1 jar (11.75 ounces) hot fudge topping, divided – or you can use chocolate syrup
½ cup sugarFor the topping:
2 tablespoons hot fudge – or you can use chocolate syrup
2 tablespoons peanut butterMethod
• In large bowl, beat peanut butter, cream cheese, and sugar until creamy. Fold in 3 cups Cool Whip. Spoon mixture into crust and smooth to edges. This says to fold in the Cool Whip. Maybe I didn’t beat my peanut butter mix long enough but folding didn’t really work for me. I think a slow whirl in the mixer would be fine.
• Remove 2 tablespoons hot fudge from jar and reserve in zip-loc plastic baggie for later. Heat remaining hot fudge according to package directions. Spread on top of peanut butter layer. Refrigerate pie until serving time. – Or just put chocolate syrup on top. 😉 If you go this route be prepared to put an additional layer of Cool Whip over the chocolate syrup.
• At serving time, carefully spread remaining Cool Whip on top of pie.
• Knead hot fudge in baggie with hands; cut tiny hole in corner of baggie and pipe over pie. Repeat with 2 tablespoons peanut butter and pipe on pie in opposite direction.
As you can see this is super simple and very yummy and just for comparison, here is what mine looked like.
~k
