How to: Plastic Coated Cabinets
I’m going to switch it up and not actually post anything beauty related today. I know you’re shocked! Ha! With #operationhousehunt under way, Matt and I slowly started to work on our “to do” list for the house. One project included sanding and repainting the bathroom vanities. The paint was peeling on both of them and the plastic coating on one of my doors had started to pop off.
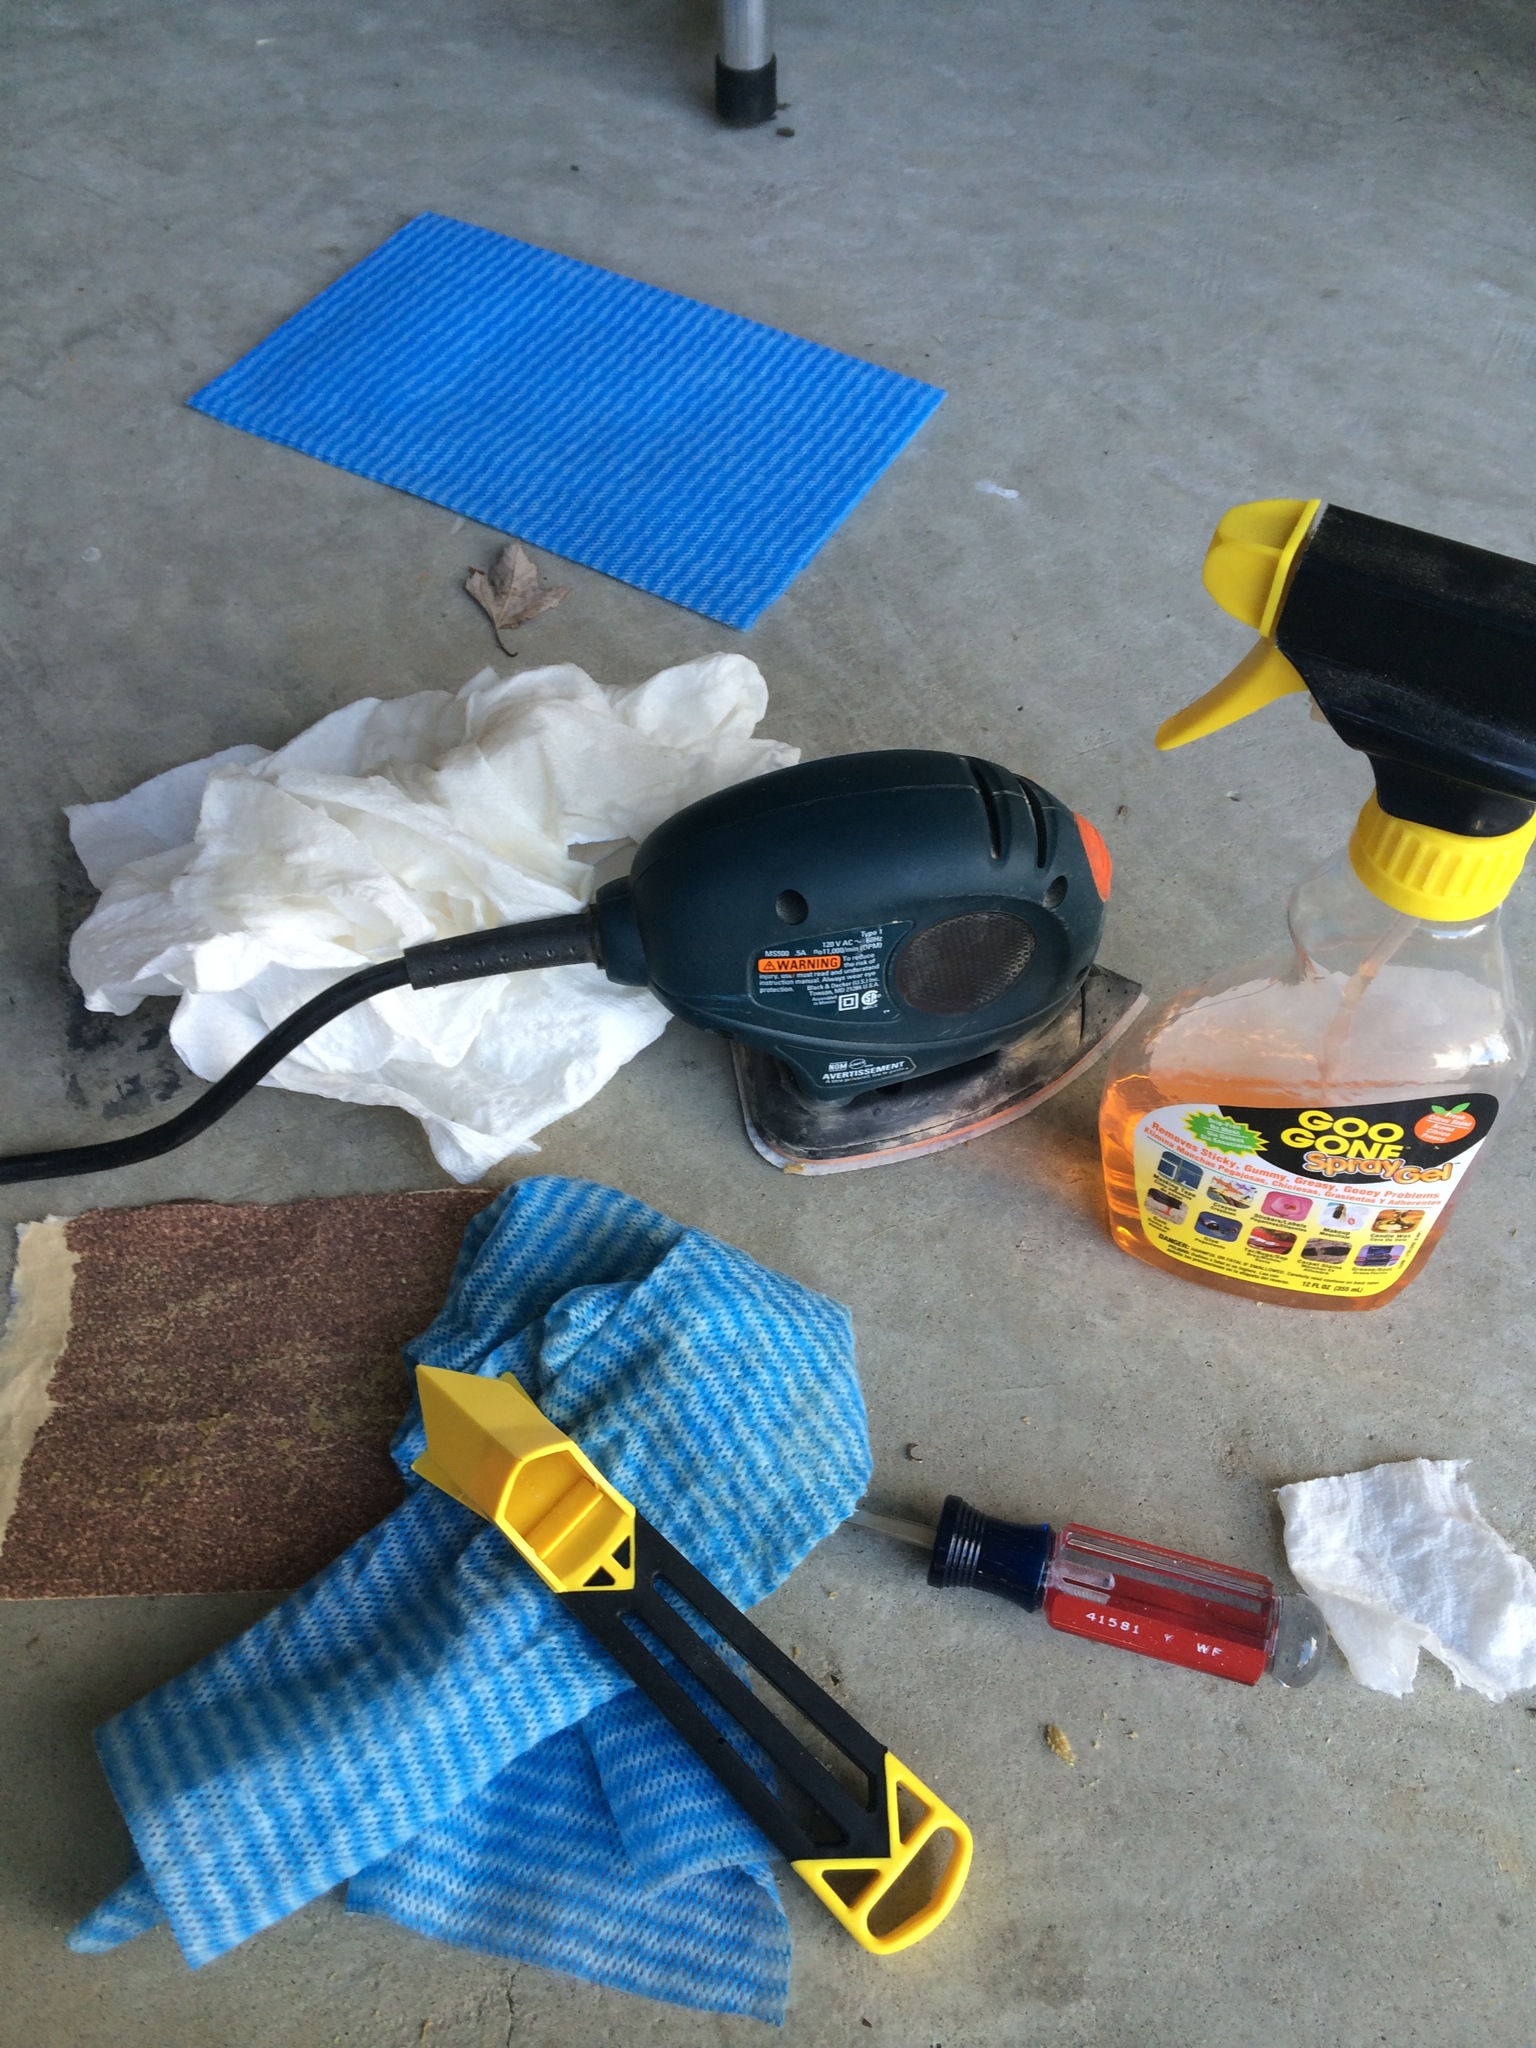
First off, can I just say, who in the hell thought it was a good idea to cover cabinet doors with plastic? Anyway, here’s what you’ll need:
- Goo Gone
- Sand paper and/or power sander
- Paper towels (damp and dry)
- a plastic scraper
- screwdriver/exacto knife
- Kilz (or any primer paint)
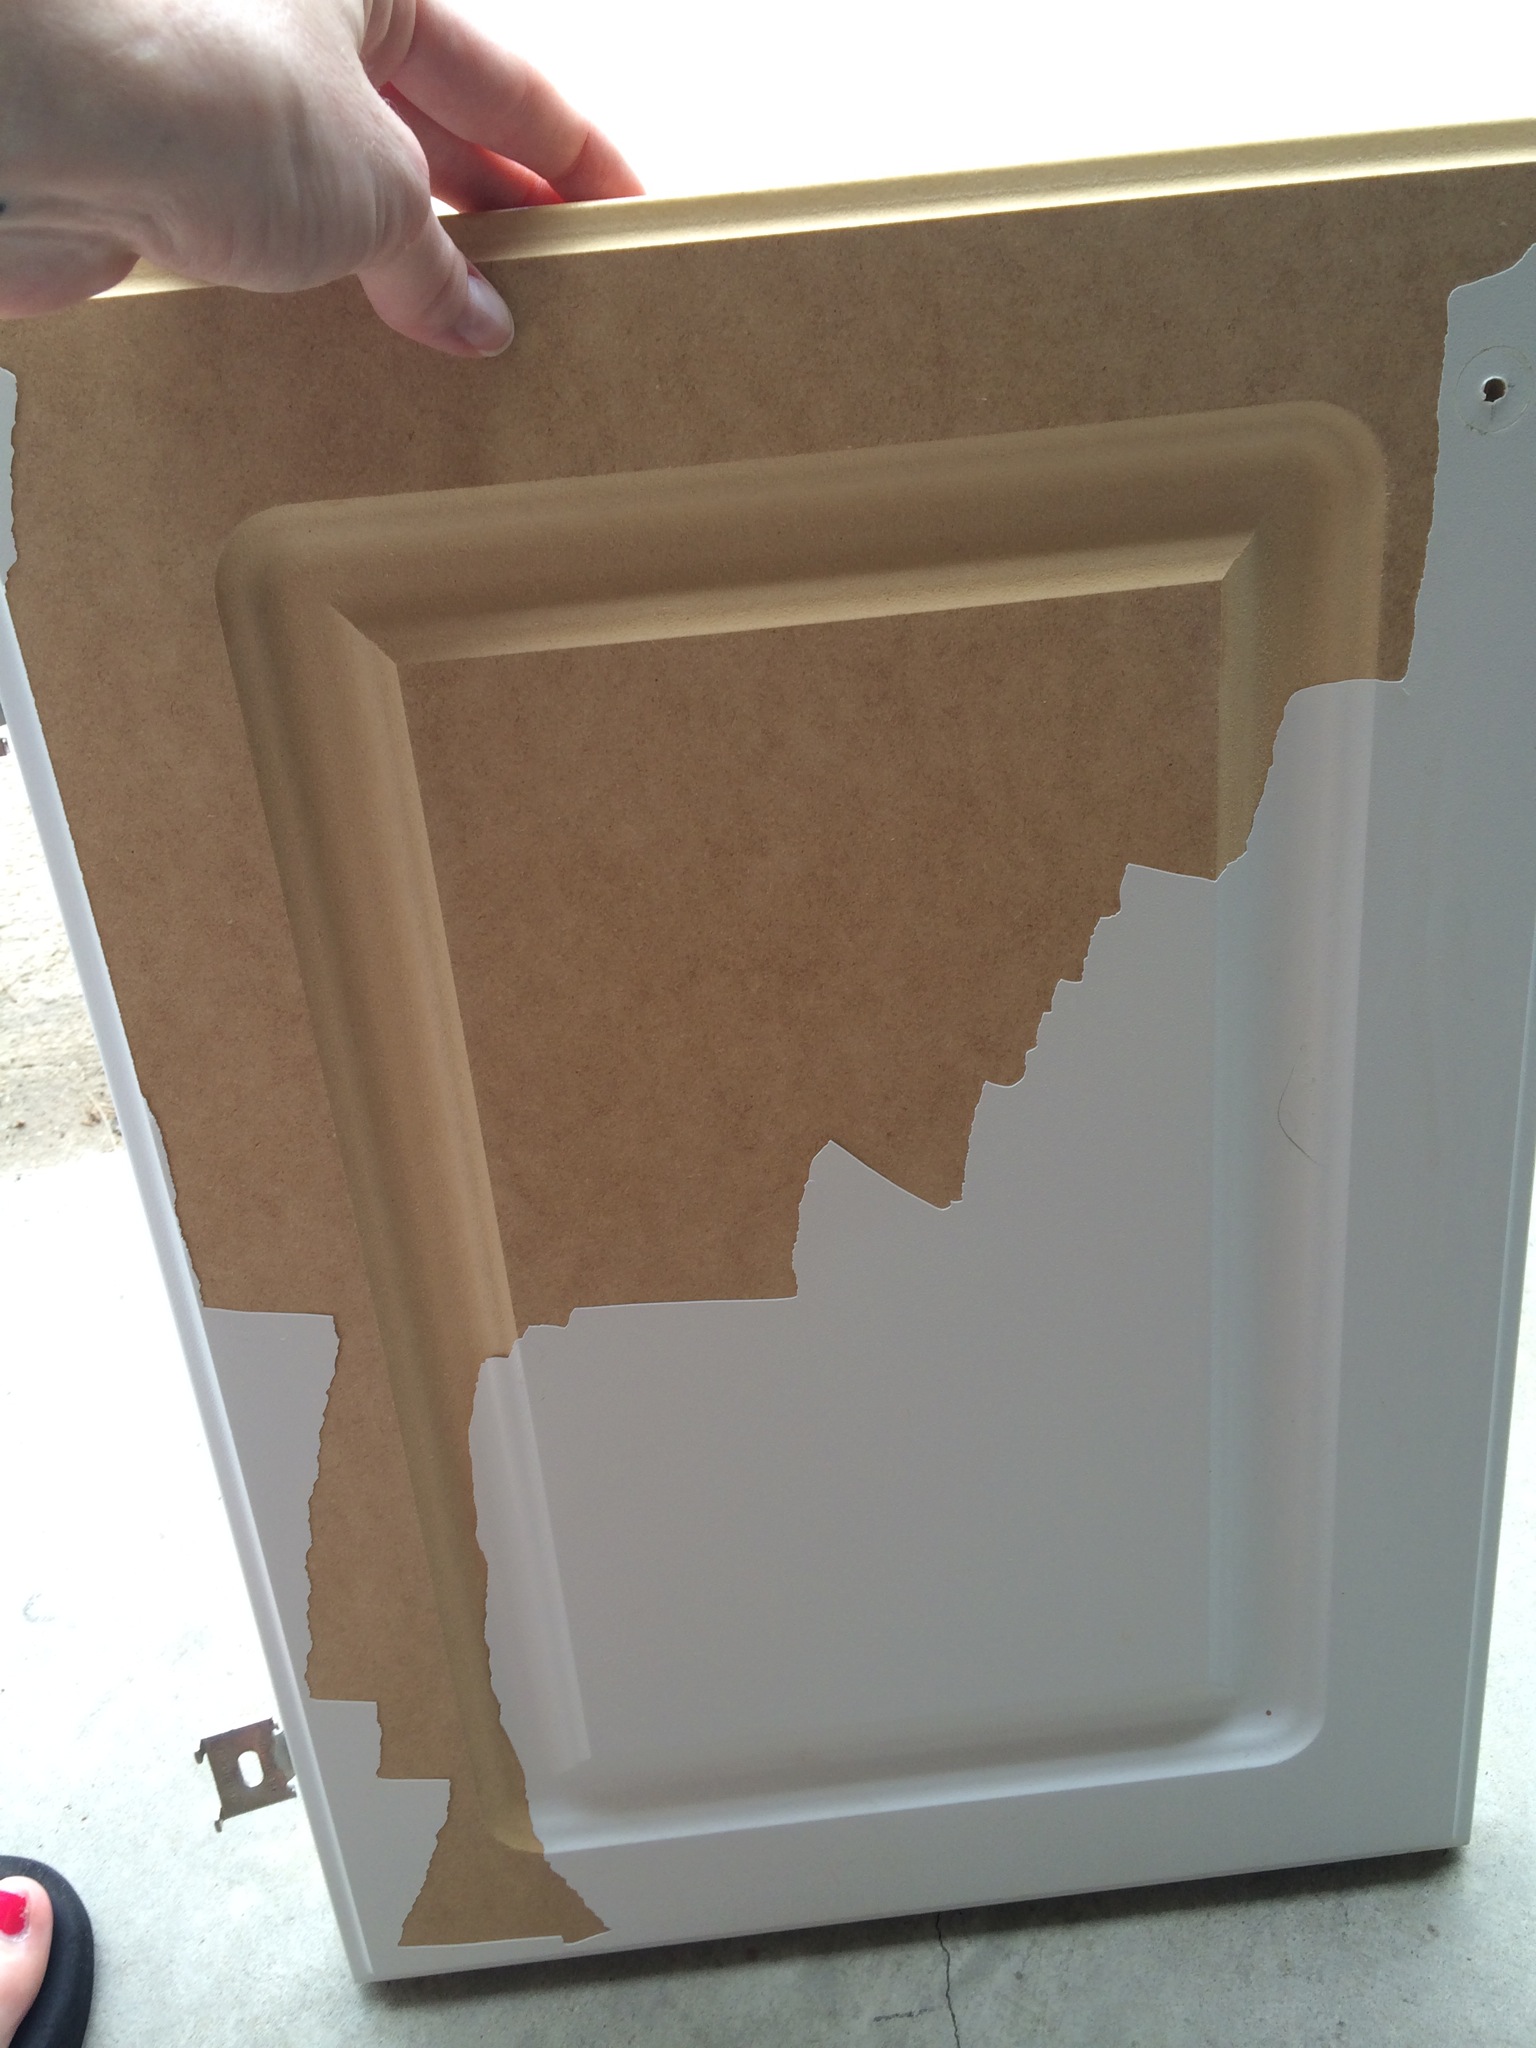
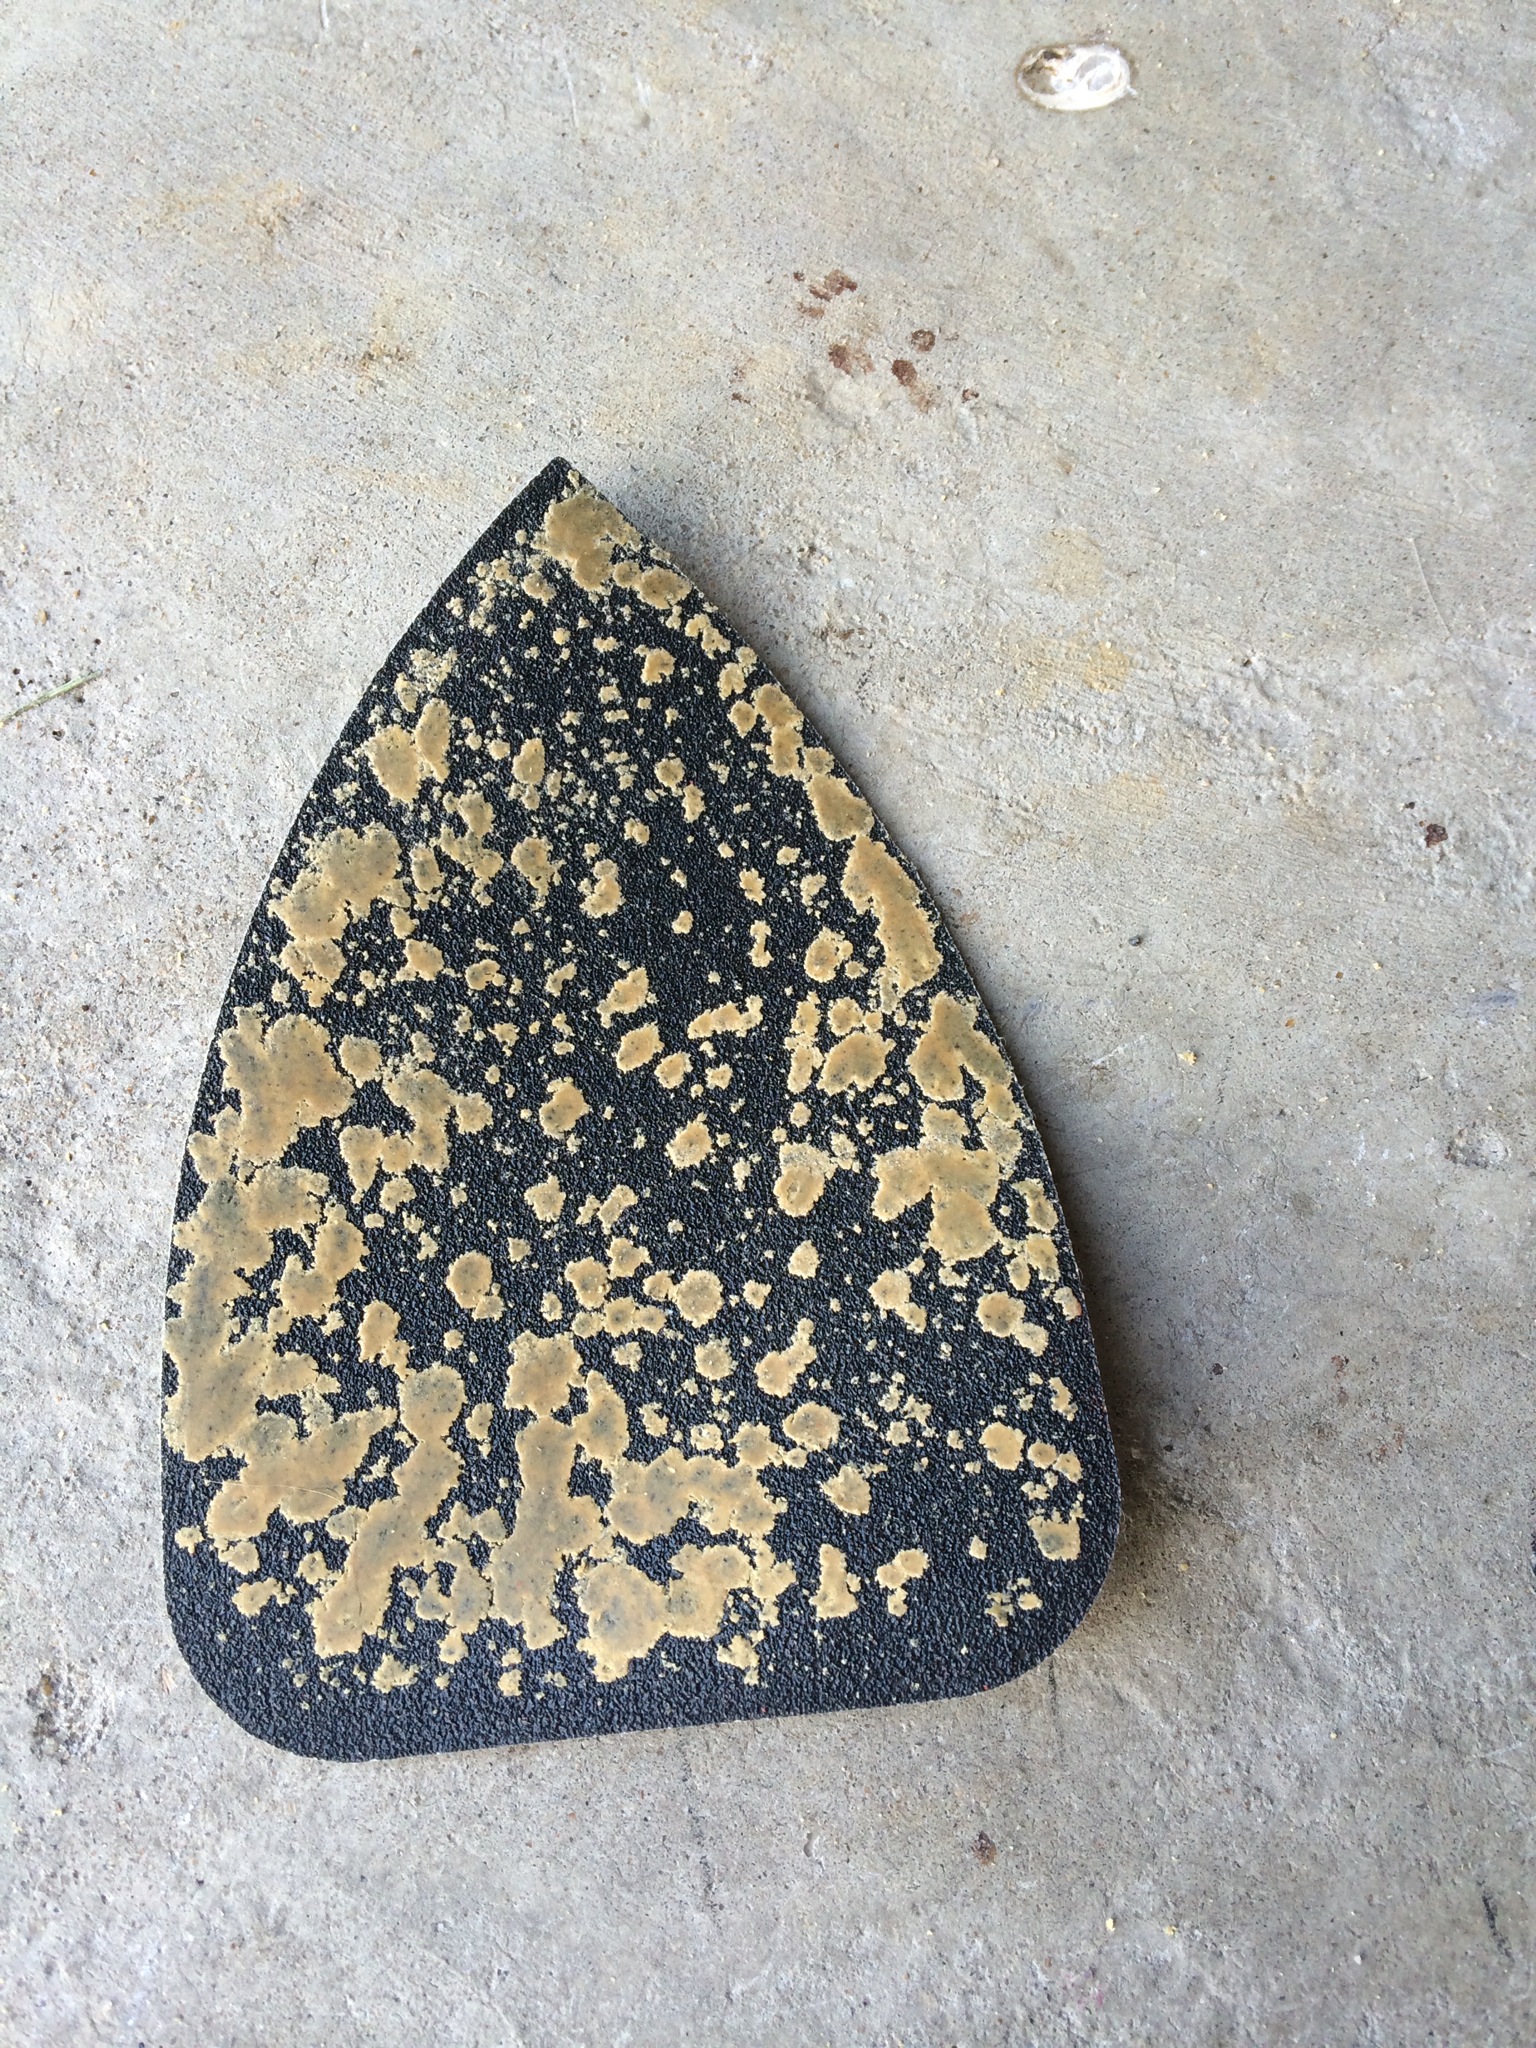
Okay, so step 1 is to remove the plastic from the doors and panels. On all but one of the doors and panels, I was able to get a little edge pulled up and peeled from there. I had one panel that was really stuck so I used an exacto knife to get under the edge to get it started.
Next, use your Goo Gone to remove some of the adhesive. I tried sanding first and the adhesive just clogged up my sandpaper. The adhesive also gummed up into little balls from the sandpaper. The Goo Gone didn’t remove all of the adhesive but it did help.
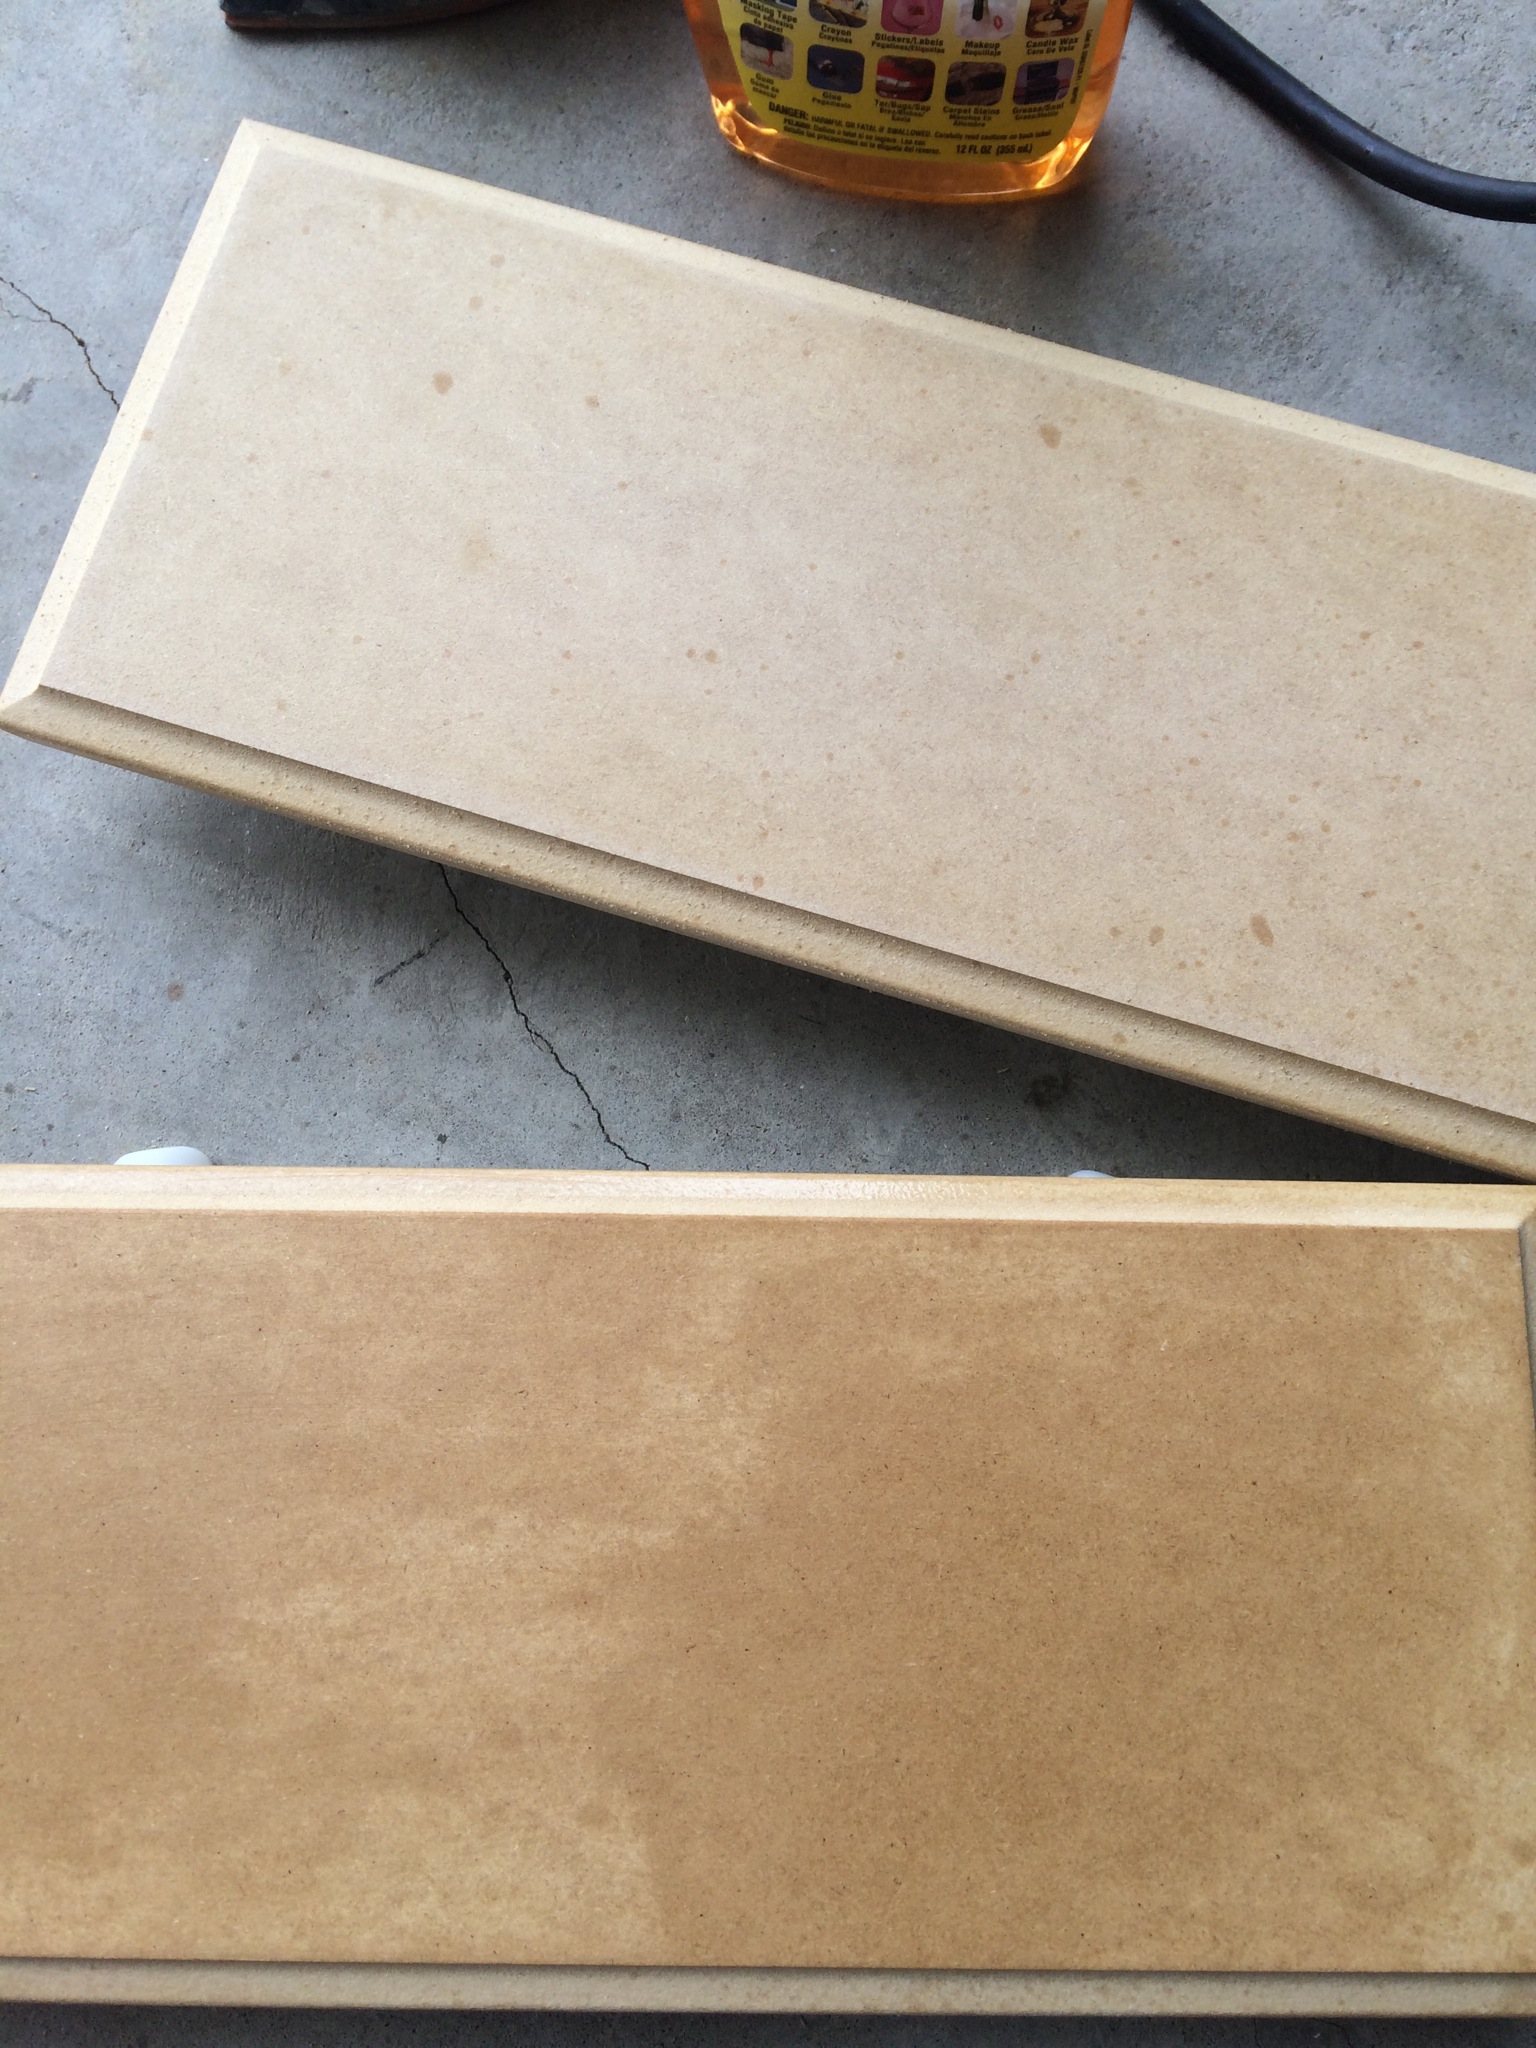
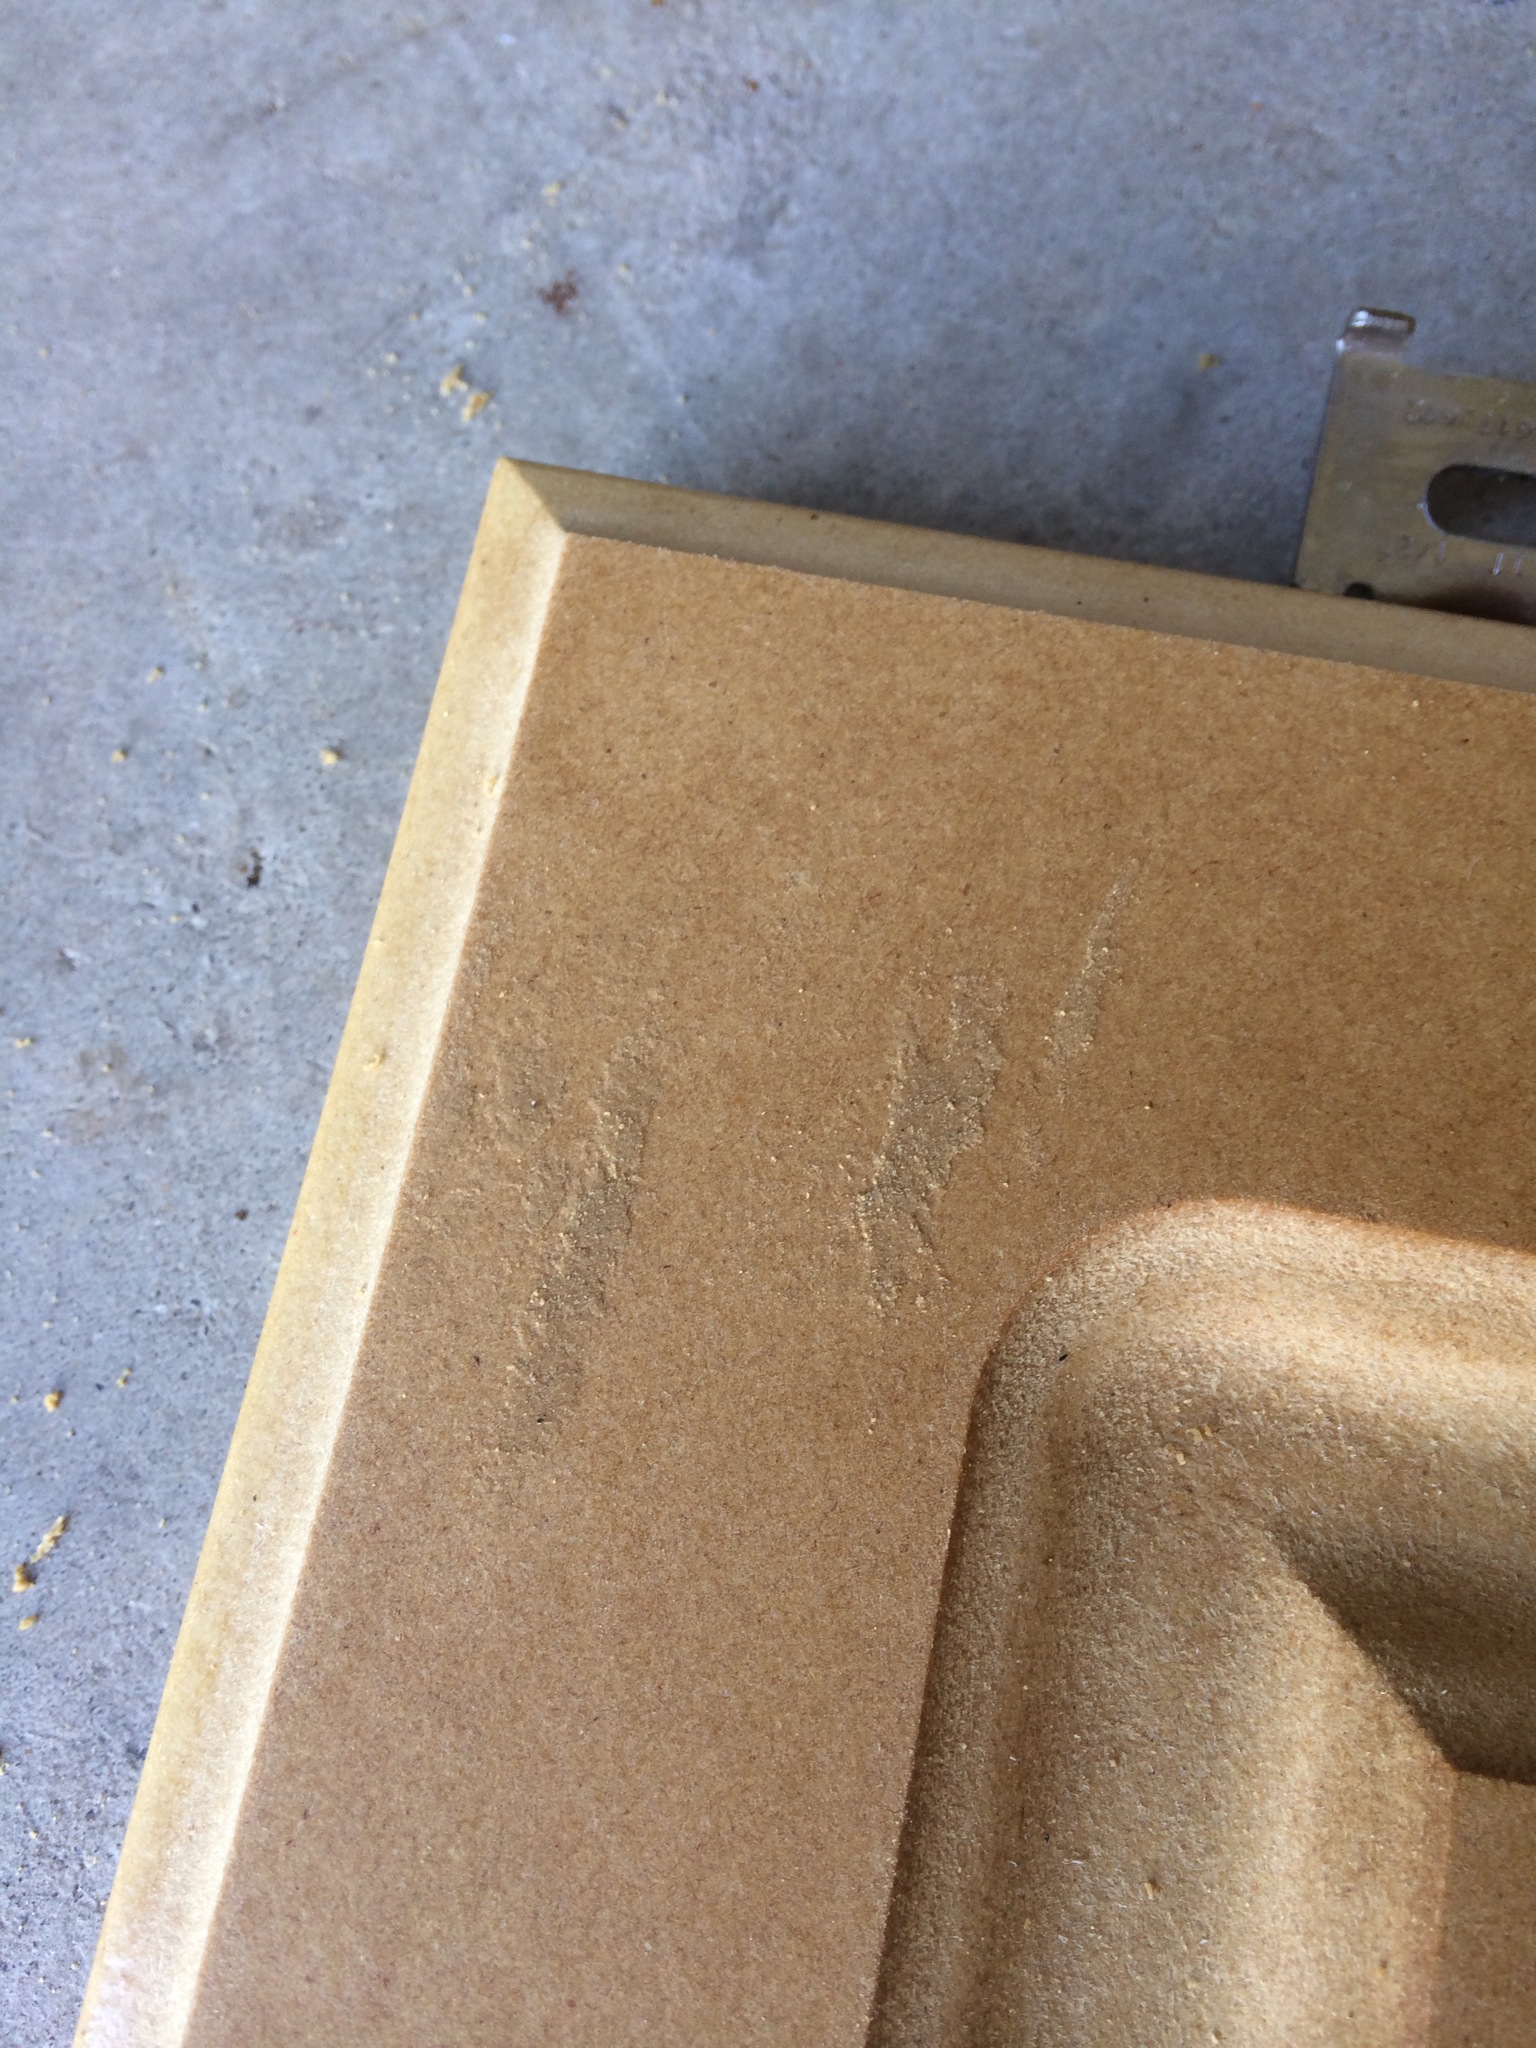
Once I felt like the adhesive wasn’t as sticky, I wiped everything down with a damp paper towel. Then I used my sander. There were still a few spots that gummed up so I used my plastic scraper to scrape off the excess. You can kind of see it in this pic. I used about one piece of sandpaper per door. Even though the adhesive isn’t very sticky, it was still on the doors.
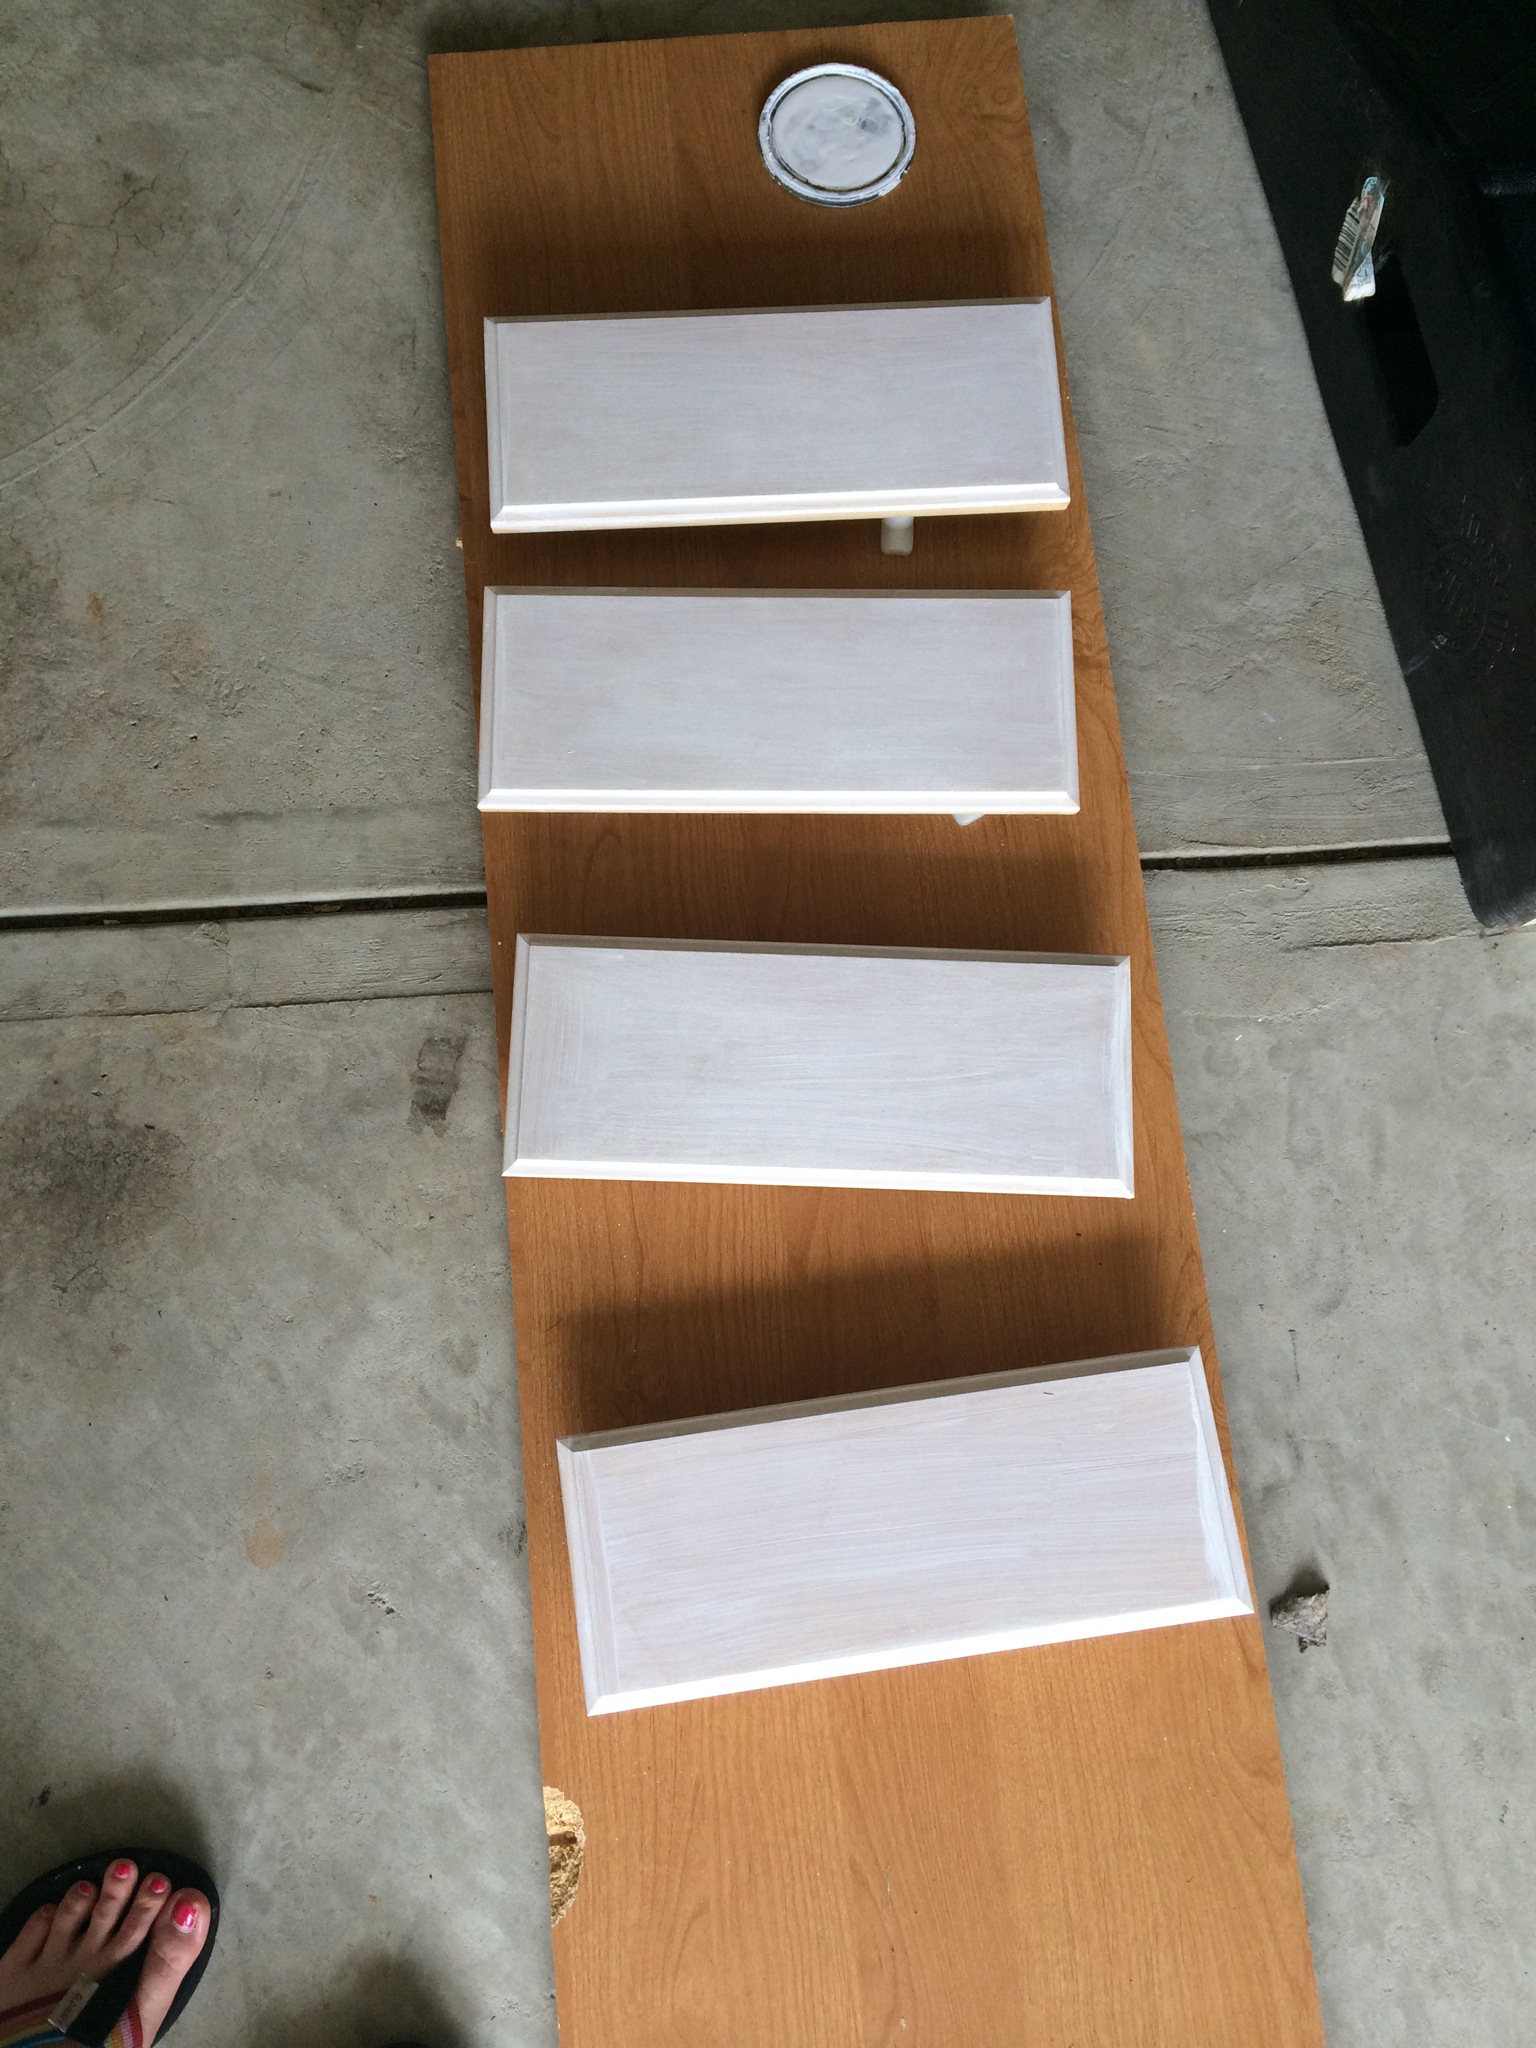
After all the doors and panels had been Goo Gone’d and sanded, I wiped them down one more time with a damp paper towel to remove any excess dust. I used a dry paper to clean them up and then we started painting. We used 2 coats of Kilz and about 2 coats of our cabinet paint. The doors weren’t quite as smooth as I had hoped they would be but overall it looks much better.
I should add, I didn’t bother to remove the plastic coating from the back of the doors. It’s white and I’m a little lazy. 😉 It just didn’t really make sense to add the extra step though you could. I also didn’t bother taking a pic of the final product. Since we still need to paint the bathroom and replace the flooring, I’ll do a before and after when everything is complete.
~k
2 Comments
Amanda
My husband is at home painting our kitchen cabinets as I type. We started with bathroom vanities and now the kitchen. I must say it is a lot of work for him (hehe) but defiantly worth it when it is complete.
Good luck!
mrs_ellyk
It is a lot of work. I hope I don’t have to paint anymore cabinets for a while! 🙂