-
A new project
Woo hoo! Thanks to my lovely friend Sarah, I was perusing Craigslist tonight and came across a sweet little find. An antique and it’s only $10.00. I am pretty excited about this little gem. A little work, some paint and new fabric and this will be a great addition to the house.
Enough teasing already. I’ll post pics after I pick it up. 🙂
~ k
-
Hello Halloween!
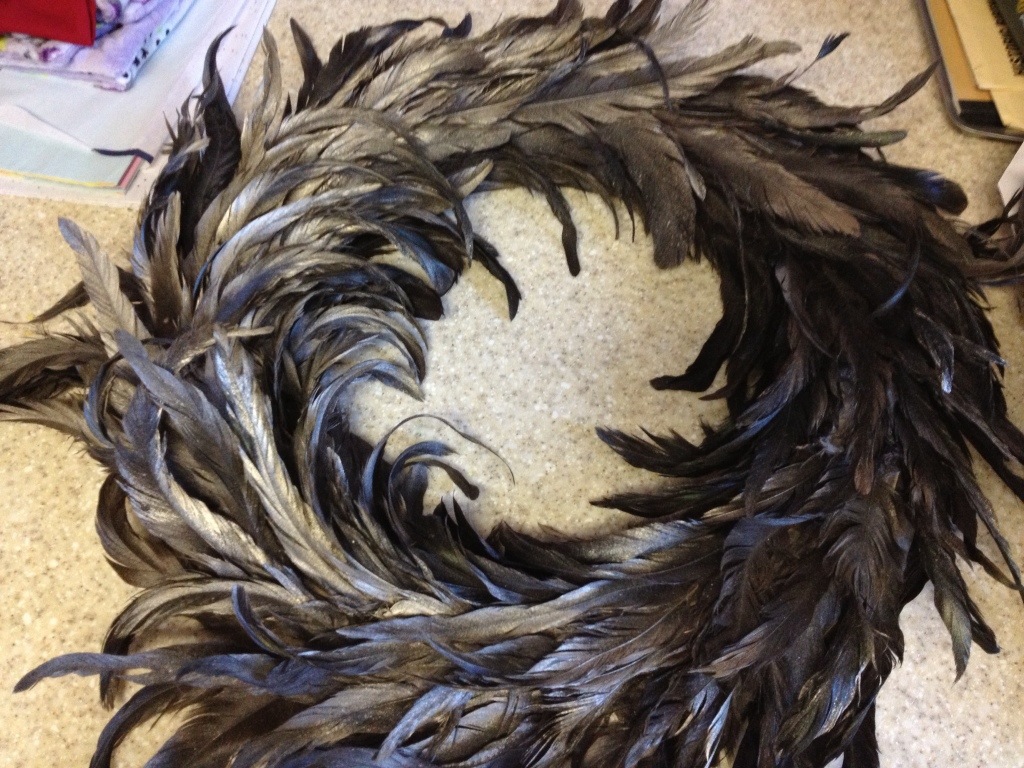
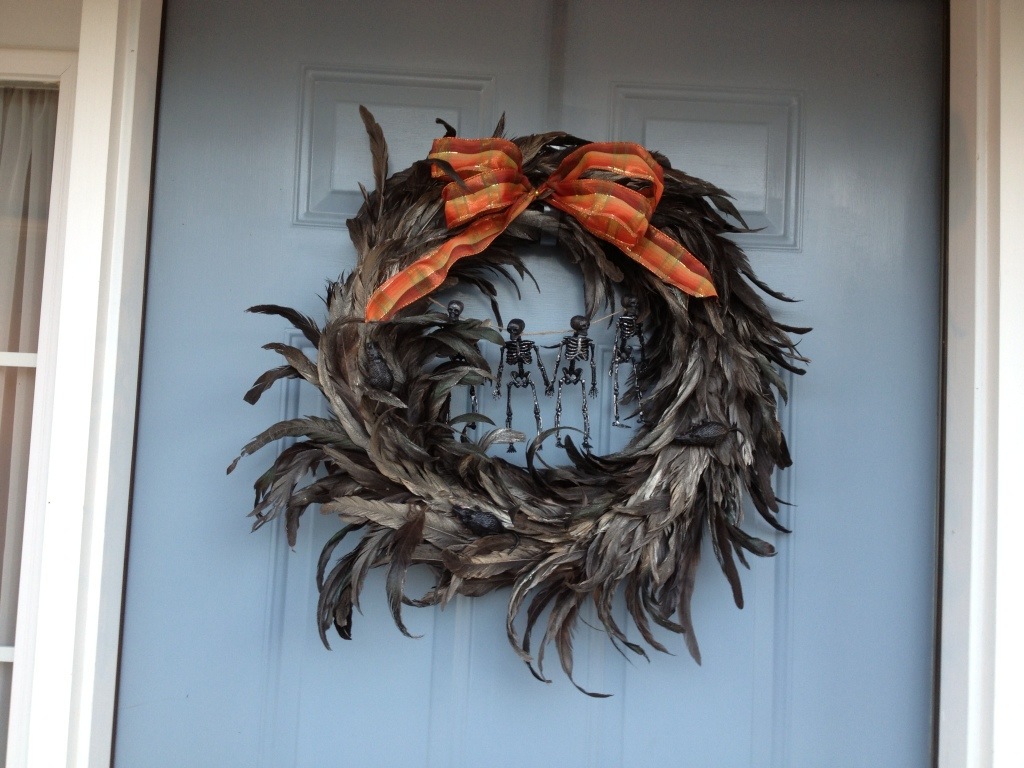
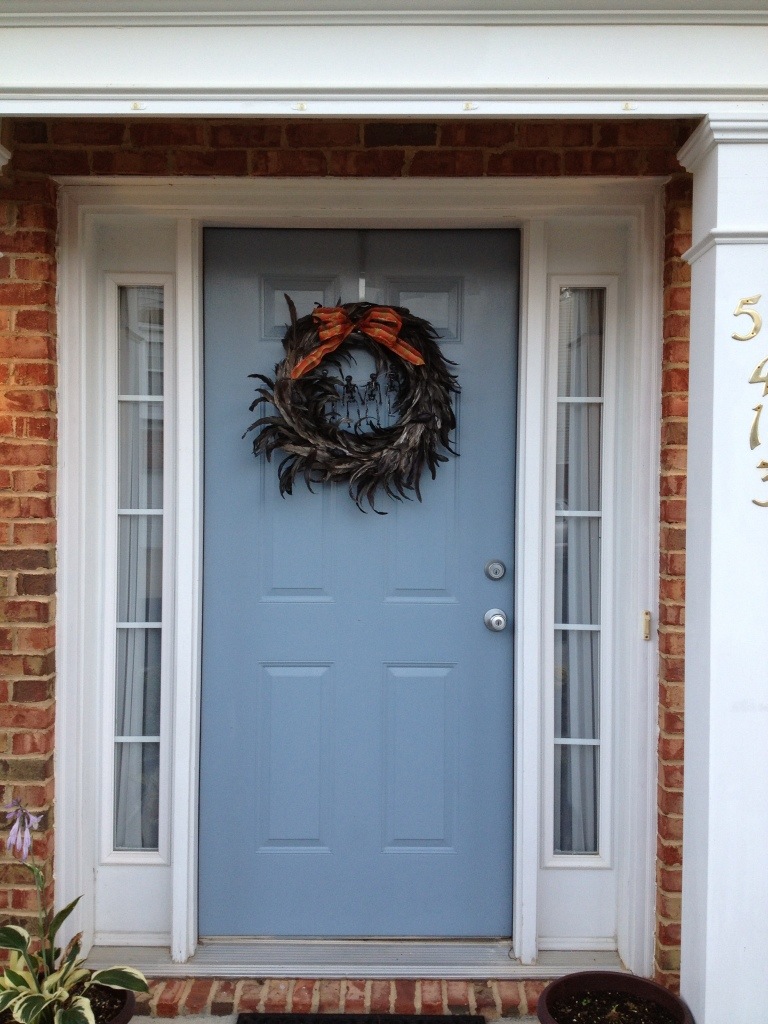
I normally don’t do much for Halloween but the craft bug bit me, again, and I needed something to do. Since Halloween is right around the corner I thought I would decorate some. I found some great printables, and you might remember the crazy Target spree I went on a few weeks ago. I also decided I wanted to do a Halloween wreath. I found a great one on Pinterest. It was plastic snakes hot glued to a grapevine wreath with everything spray painted black. I figured I could get the snakes and wreath at the dollar store since I didn’t care to spend a lot of money.
I ran to the dollar store only to find they didn’t have either item. So as I was wondering around I saw some skeleton garland and some fake rats. I grabbed 2 garlands and 1 pack of rats. My mom was with me and said she had a black feather wreath I could have. Score! This meant I would spend a grand total of $3.00 on my Halloween wreath.
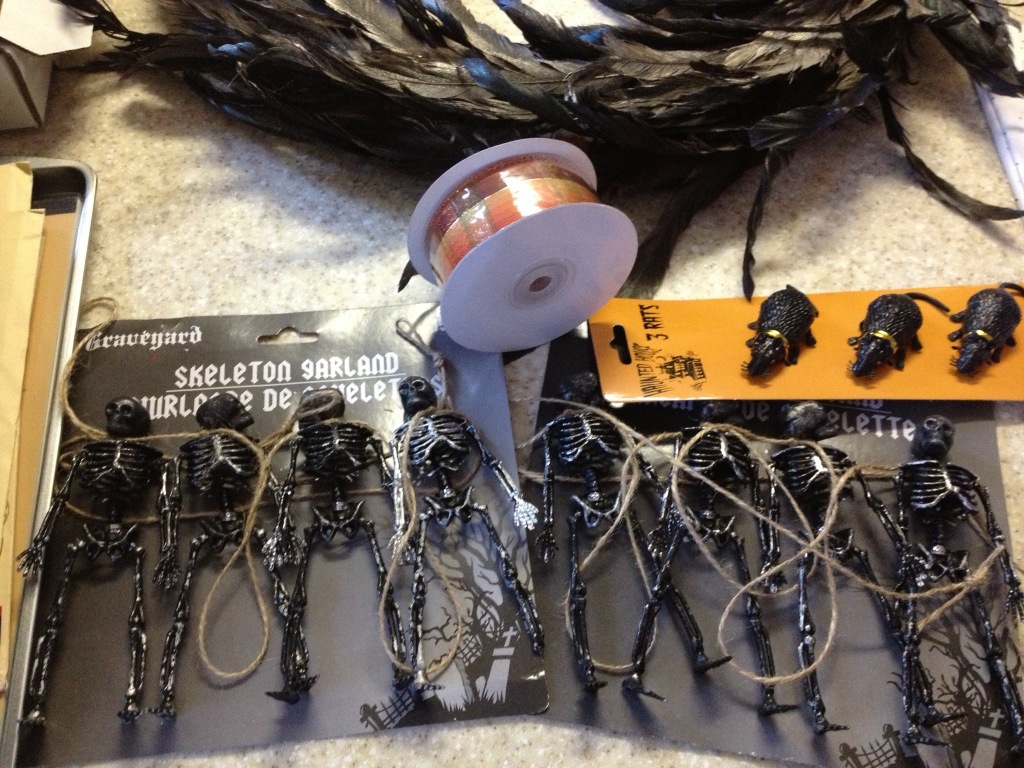
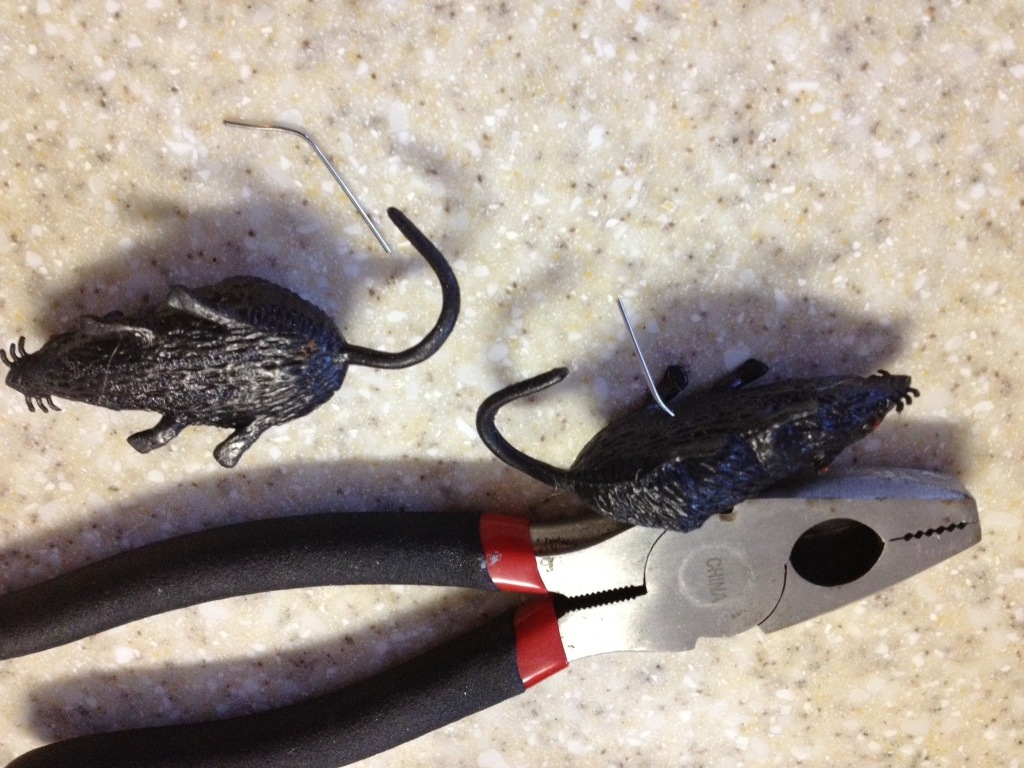
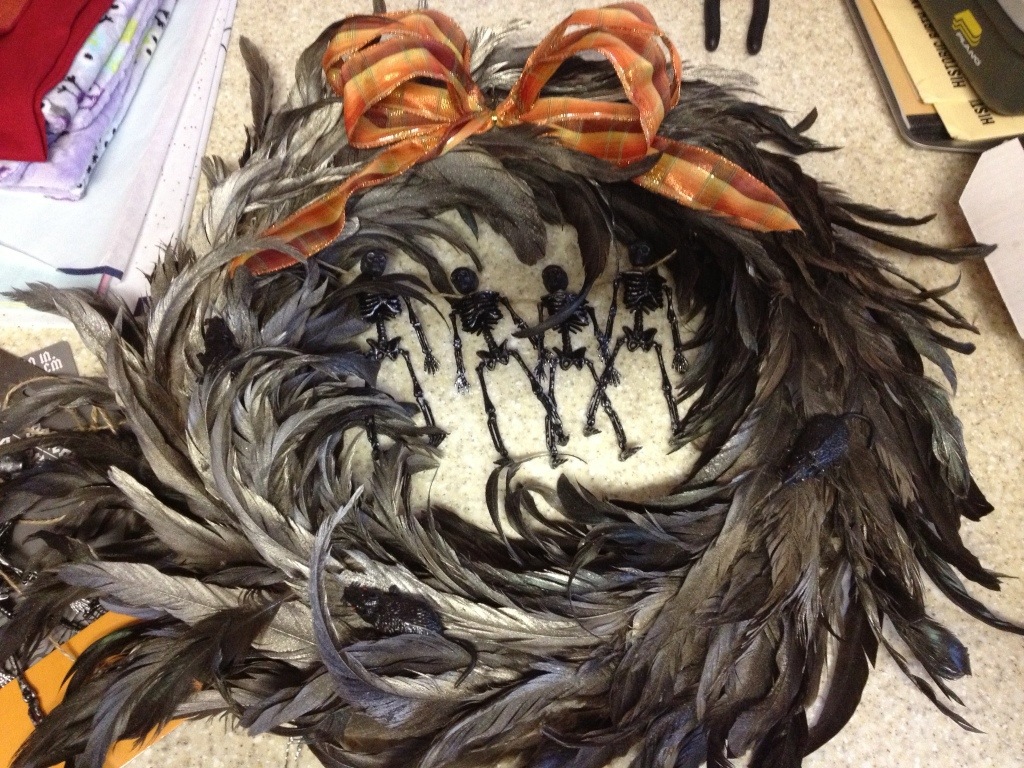
I picked the wreath up during lunch so I could work on my wreath when I got home. I must say the damn thing took longer then I thought it would. The little skeletons weren’t as close together as I thought they were so I had to retie all of them. Next I had to figure out how to get the plastic rats to stay without hot glue. As I was looking in our junk drawer I found a paper clip. I unfolded it and cut into 3 pieces. I stuck each rat with the paper clip and stuck it into the wreath form. I thought the wreath was a little too black so I added a bow. Overall I think it turned out great!
~k
-
My mystery project
I mentioned in this post that I was working on a “secret” project. Well I am ready to reveal what I’ve been working on.
A friend of mine found the cutest owl blanket on Etsy. She wanted it for her new baby so I told her that would be my gift. Well a few months passed and as she got closer to her due date I decided it was time to get her gift. I went to Etsy but the shipping was crazy expensive so I had an idea. Find the fabric and just make her the blanket. I mean how hard could it be? I should note I’ve never sewed with Minky fabric and I’d heard it was kind of a pain.
I ordered my fabric and I was super excited when it arrived. It was sooo soft. Perfect for a baby! I washed it and figured out what size I wanted to make. After I got everything cut I realized I had enough to make a small “test” blanket. I’d read up on minky fabric and everyone said to PIN PIN PIN! Don’t you know I pinned the hell out of my fabric, about every inch to inch and a half. For the most part, my test blanket went okay. My seems weren’t perfectly straight but it would do. I knew the tricky part would be the top stitch. I’ve never done a top stitch before. I even decided to tape my fabric to give me a straighter line. Needless to say this line wasn’t as straight as I would have liked but it wasn’t terrible. (note the top 2 pics don’t have the top stitch in the pic)

Front 
Back Now that I had my test blanket finished I felt pretty good beginning on the bigger blanket. I even decided to tape my lines since the fabric just wasn’t straight. For the most part it was okay except for one side. It came out kind of wonky – I have NO idea what I did. Anyway I decided to just rip out the weird spot and and fix it. That made me much happier, so I set out to start my top stitch. Again I pinned and taped my fabric, but when I started I was so worried about it not being straight I jacked it up a lot. I ended up spending a good amount of time ripping out the top stitch. Thank goodness it was my open side so I was able to get the the inside. Finally I said screw it and just fixed what I could. To me it didn’t come out quite as good as my test but my friend still loved it.

Finished final blanket Looks like I will have to get some more practice with minky!
~k
-
Mystery project
The materials for my next projected arrived on Friday. Saturday we had the NC State game and yesterday was gross and rainy out so I began working on my latest venture. I got it started and today I worked on it some more. I still have a ways to go before I’m done but I hope to be finished by the end of the week. *crosses finger*.
I don’t want to post until this is completely finished but after today I am really excited. I think this will be my best project yet! Yay!!!!
~k
-
Pinterest Project – Watercolor State
Last week I bought some watercolors. I haven’t played with watercolor since I was a kid but I’ve been itching to get my hands on some kind of paint so I finally decided to make this project. Much to my surprise watercolors aren’t that expensive. Michael’s had several different sets starting at $5.00. I decided the $5.00 pack would be fine for now. If I find I’m painting a lot more I’ll invest in better supplies but for now this will do. I also grabbed a pack of brushes, a paint wheel, and a water color note pad. In total I spent 17 bucks and change. Not too shabby considering water colors will last forever.
On to the project. Here is my inspiration piece. I’ve seen this done with several different states and I thought, what the hey, I can do this! Last night I broke out the paints to see what I could still do. I definitely need to play around more with my watercolor but all in all I don’t think mine looks awful. (Well except for the yellow streaks.)

Finished product. As you can see it’s not bad, but it’s not good either. Again this was just my practice piece. And I lost it when I decided to add drip marks, ie the yellow streaks. I really just need to get familiar with my paints again and then I can find my way. I also might work a little more on my NC. This was just drawn free hand looking at a map online. I also need to work on my blending. 😀 Lots more to work on….
I have a feeling I will work on this again this week so watch out for another, better picture soon!
~k
-
Cha cha chaaaannnges!
At work! Again!
Just when I think things are calming down crazy shit happens. I know I said this week would be crazy but I didn’t say why. Well our wireless brand republic wireless relaunched on Tuesday. We thought that we be stupid crazy but things when pretty quiet, until yesterday. Then we found put a different product is moving to another division. I am one of the “lucky” ones moving! I don’t think it will be horrible but it was just surprising. Tomorrow we will find out what the actual plan is. Until then the rumor mill is running wild. 😉
On a side note I ran to Michael’s today and bought some water colors. I haven’t paints with water color since I was a kid and I am looking forward to getting back into the swing of things. I have a couple of projects in mind so I will post as I complete them.
~k
-
Hair bands – by the yard
As promised I went to Joann’s yesterday but alas, they did not have the elastic I was looking for. So I did a little research yesterday and found an Etsy dealer who sells elastic by the yard. You can buy 10 yards for $2.95. Add shipping to that and well for under $6.00 you could make hair bands until the cows come home, literally. 🙂 I don’t see my buying any bulk elastic for a while but just in case I now know I can find it on Etsy.
The next few weeks will be crazy at work, I can’t say much now but come next week I will write more. Basically I have no idea how much time I will have to blog in the next few weeks but I’ll do what I can. I have a few projects I’m thinking of starting and when I do I will track my progress.
~k
-
Otis the Owl, fail!
Over the weekend I decided to make the cute owl I found on Pinterest. I cut out my fabrics last week to save some time so I didn’t have to do all the steps at once. Anyway I was pretty excited about the color combos I had picked out. My original goal had been to use a fancy, thick stitch around the face, eyes, nose and body. Then I would sew the little guy up. Well this is pretty much where the fail happened.
First off my machine didn’t really seem to have the stitch I was looking for. I decided to play around with a couple different ones to see if any of them would do. Grrr, I managed to lock my machine up a couple of times. {This was totally my fault by not paying attention to what certain stitches needed.} Then when I did find a stitch I realized I had no idea how to actually attach the right foot. I looked in the book but nowhere did it say, to attach this foot do a, b, c steps.
After fighting with the machine for a while I decided to go ahead and sew my feet. This wasn’t too bad except they were super tiny. {There may be a reason the pattern says enlarge 200%.} I managed to get them right side out and decided I would go upstairs and glue my face and body piece to the main fabric. Then maybe I could stitch around it. The gluing was fine. A good idea in fact but at this point I was kind of like screw it. I knew I couldn’t do what I wanted so I decided just to sew him up. Well I got to the bottom and realized I didn’t have the feet on. In my haste I didn’t actually attach them correctly. I attached them so when turned right side out the feet were inside. Ugh! I ripped out the seam, put them the right way and sewed it back up.
I left a hole at the top, which should have been at the bottom, to pull the fabric out. Umm yeah, with the other pieces glued it made the fabric super stiff and hard to maneuver. Geez! I finally got him right side out but that’s where I left him. I figured it wasn’t worth wasting my filler for him. Actually I think this little project might be too advanced for me at this point so I might put this pattern on the back burner for a while. But this also means I really need to get more familiar with my machine and I need to get better.
Guess it’s back to the drawing board for more projects. And without further ado, here are the pics. He’s terrible, I know this {and I’m a little shocked I’m going to put it out here.}
~k
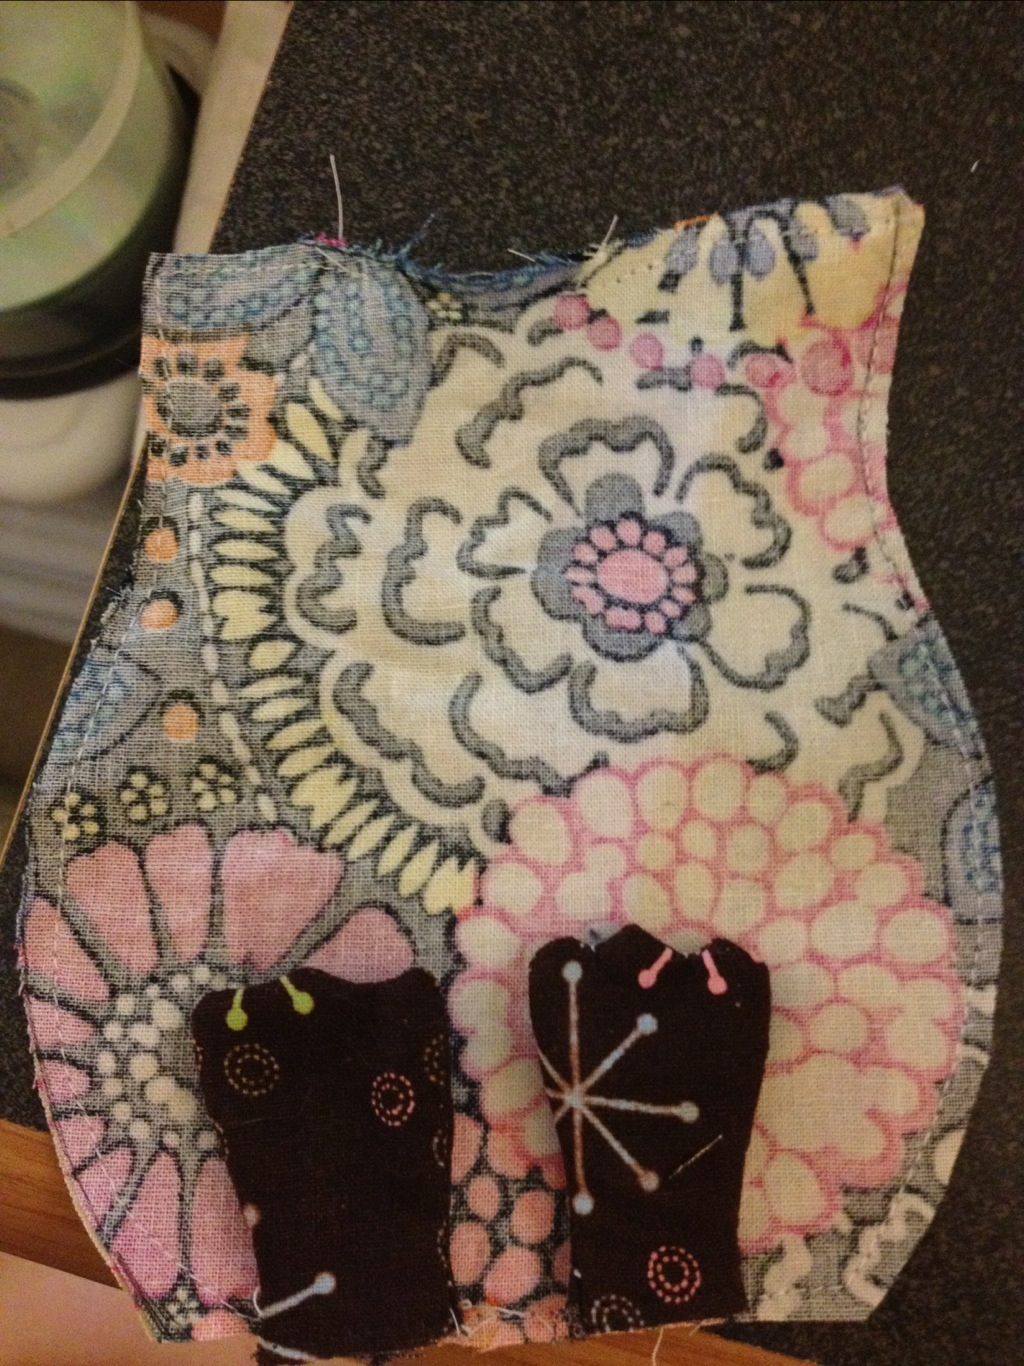
This is before I realized I put the feet on wrong. But they are at least facing the right way. 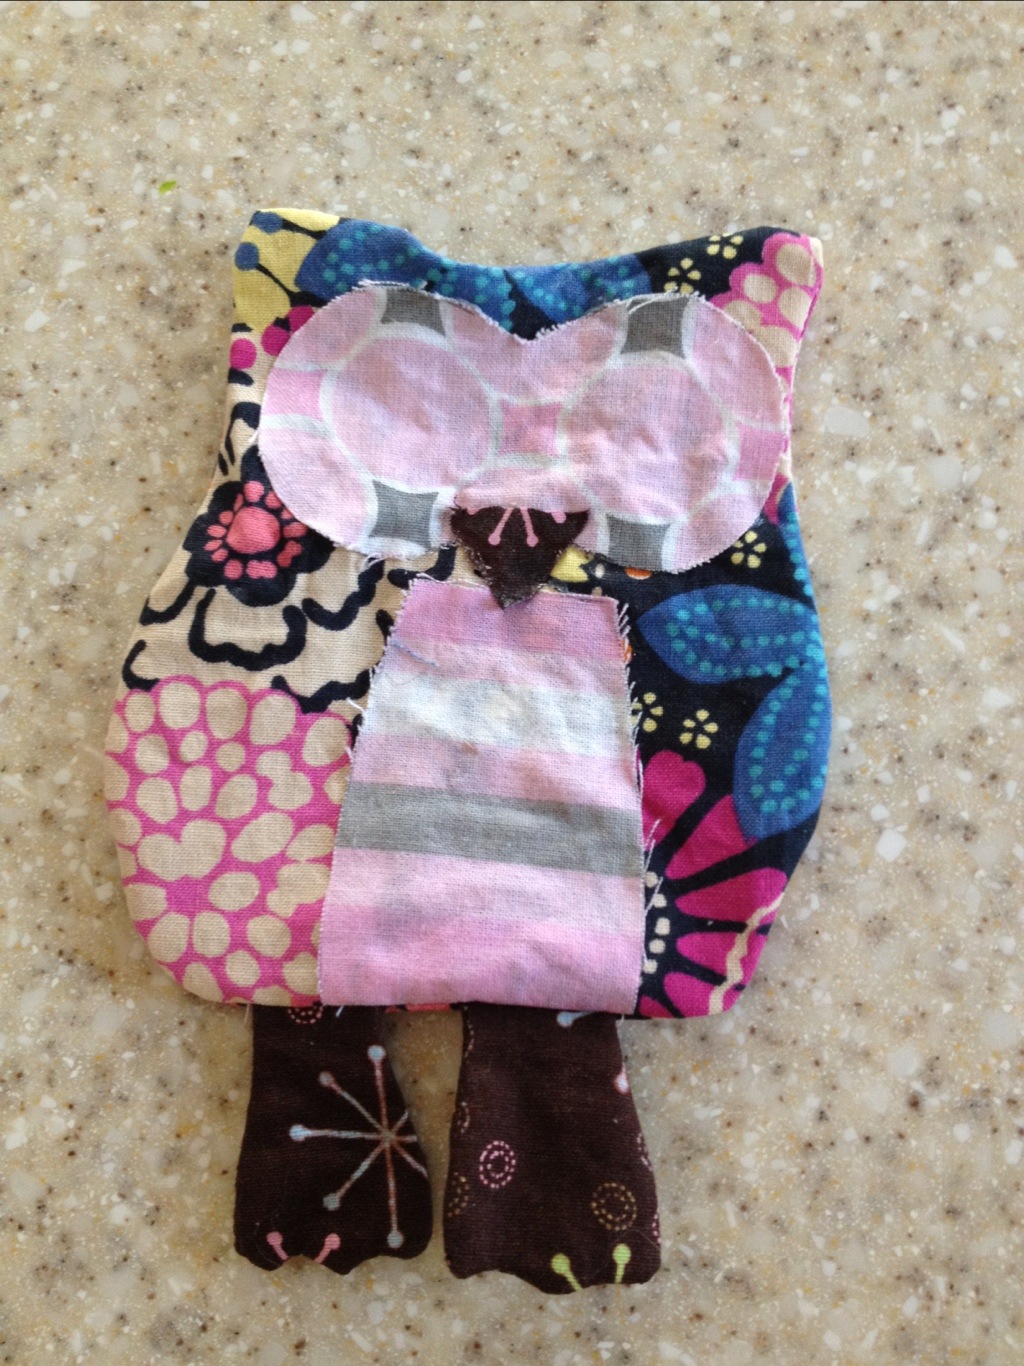
The glued on face and body. 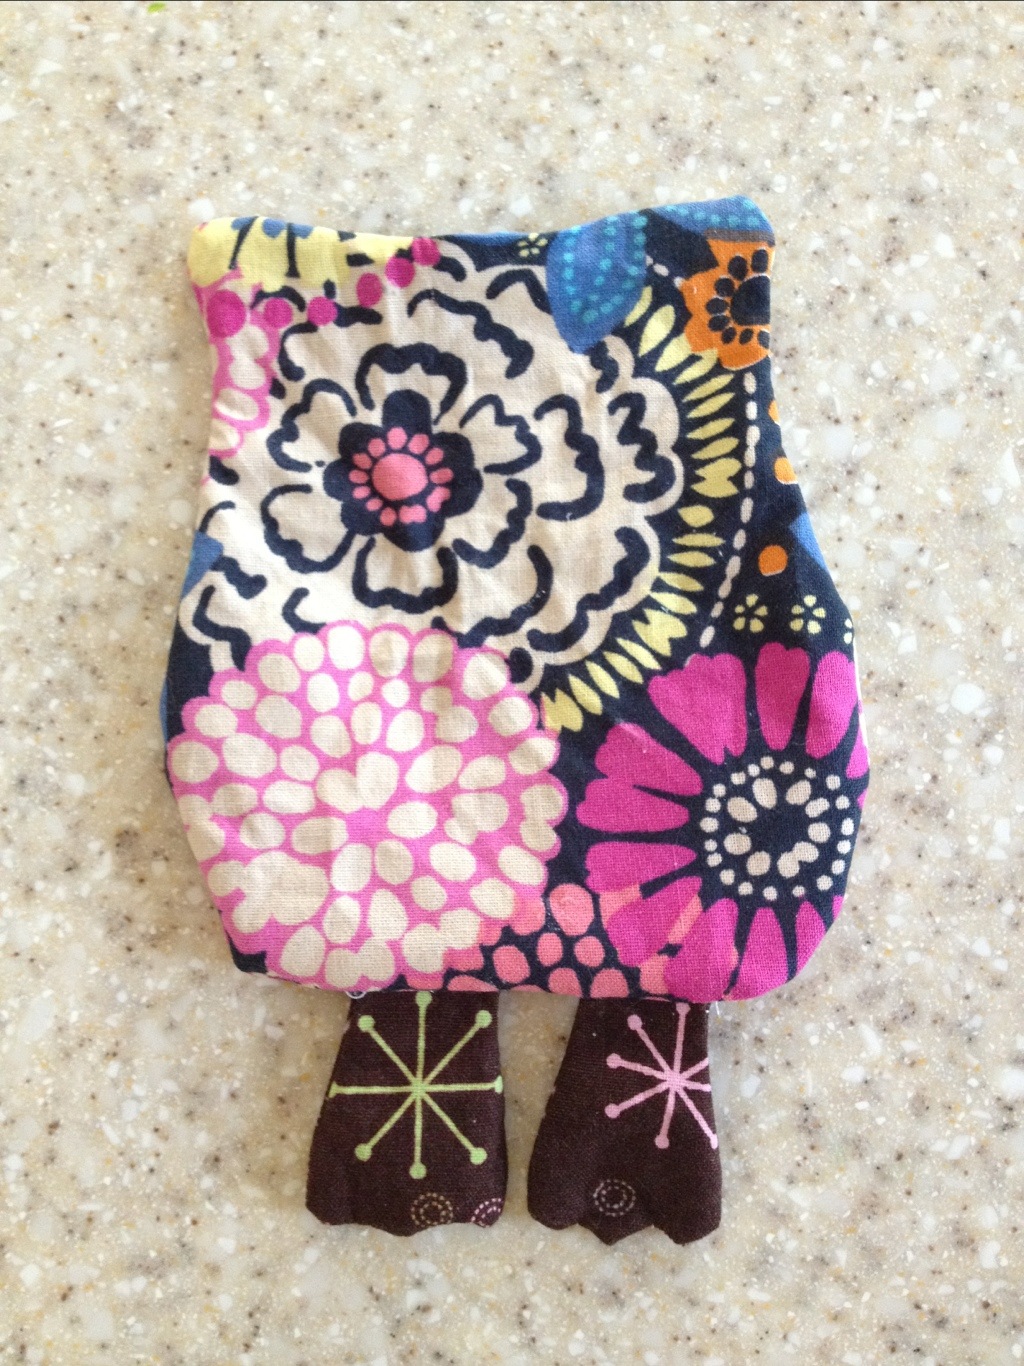
The finished product. Well the back of it. Not too bad. -
From drab to FAB!
I mentioned that Matt and I went to Southpoint on Saturday. After lunch we headed towards the mall part, it’s kind of an indoor outdoor mall, but I wanted to stop by Anthropolgie on the way in. It’s super pricey and I never even look at the clothes but I do like to look at the random housewares. As I was browsing I noticed 2 big shelves full of knobs. Oh heck yeah! There’s a desk in our foyer I’ve been planning to refinish but I wanted to find new knobs.
Anyway I probably stood there looking at all the knobs for about 10 minutes. I asked Matt about a couple but he wasn’t very helpful. Then he noticed there were a few buckets of clearance knobs. These knobs were all 3.00 a piece instead of 8.00 – 10.00 for the regular ones. Don’t get me wrong 8-10 bucks a knob isn’t bad but for 3.00 a piece I could get 4 knobs for the price of two and don’tcha know that’s exactly what I did. 🙂 I found 2 sets I really liked but I couldn’t choose so I bought both.

Thankfully I am a procrastinator and I didn’t want to paint my desk last weekend because it was too hot. Well this weekend was amazing and a bit cooler so Sunday morning
afternoonI started working on the desk. First I sanded the top and sides with my mouse sander. Then I grabbed some course grit sand paper and began working on the legs. Legs are such a pain when they are spindley. Since I was going to paint the desk I knew I didn’t have to do a great job with the sanding. I just needed to knock the varnish off.I spent about 45 minutes sanding down my desk before I decided it was good. I picked out a bright blue paint so I wanted to make the piece look distressed and old. As I started painting on the top I found if I did a light enough coat I could almost dry brush the paint on. This was kind of giving me the effect I wanted so I continued. As the paint dried I touched up a few spots here and there but over all I think it turned out pretty good and I didn’t have to use any sandpaper to the finished paint job. 🙂
Before:


After:


~k -
Spring is here
Well it has arrived on our door. 🙂 Over the weekend I finally took down the Valentine’s Day wreath and changed it to our Spring wreath. This burlap wreath is so versatile, it’s great. Just a few simple changes and it can go from one season/holiday to the next.

~k


